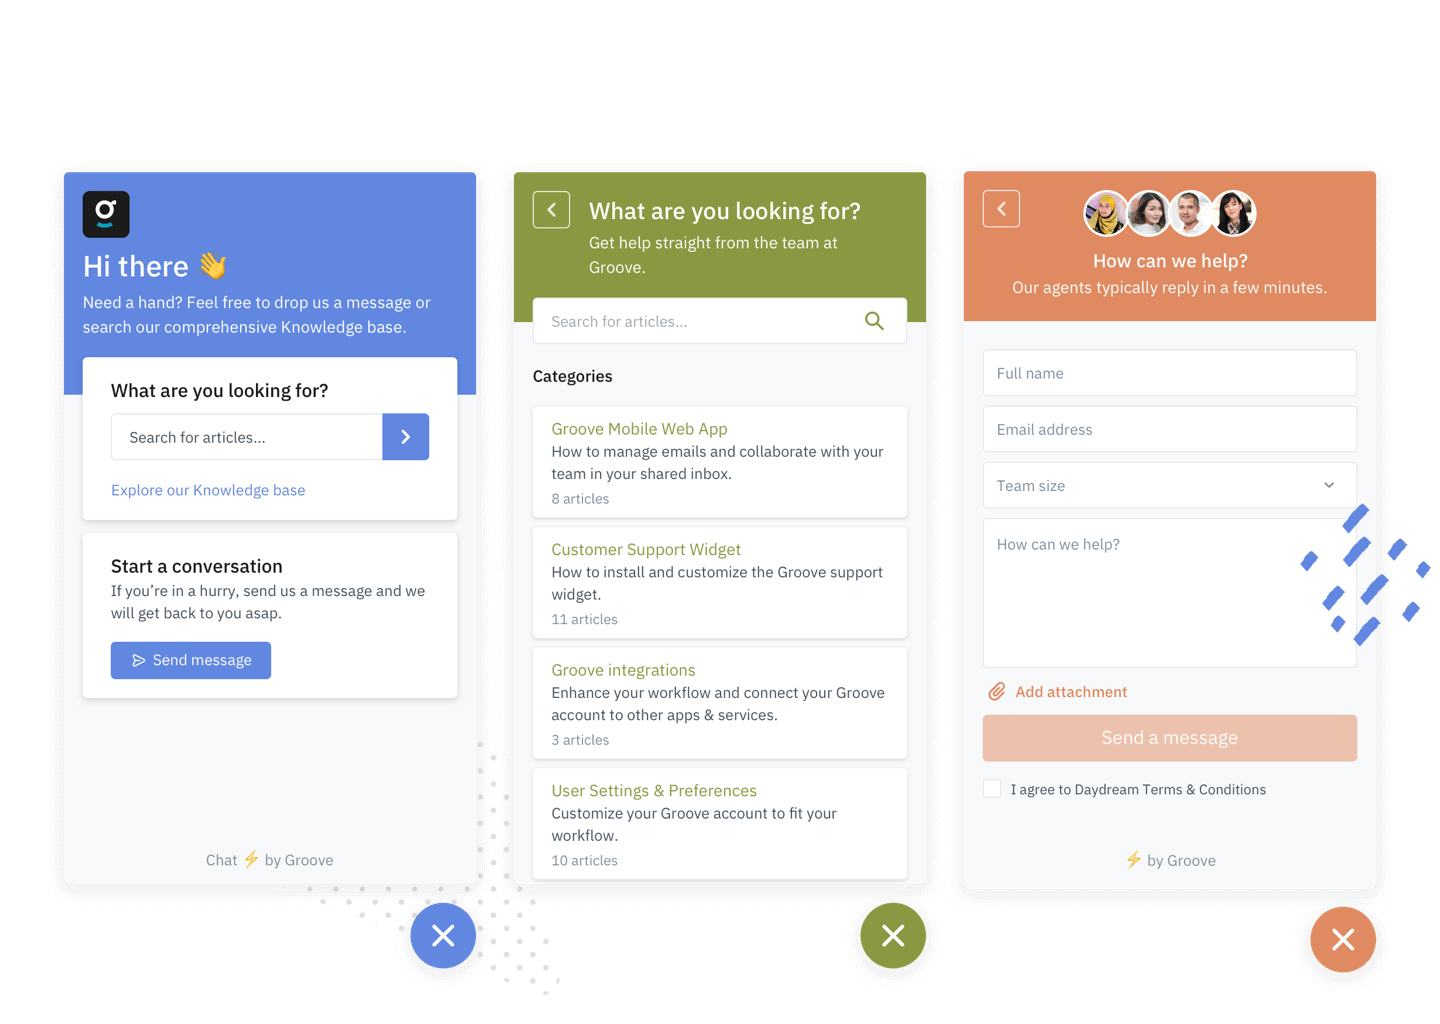
What is the Groove Widget?
The Groove Widget allows you to place your Knowledge Base, a contact form, and Live Chat on every page of your site, giving your customers a quick and easy way to get in touch or have direct access to contact you.
Where do I find the widget?
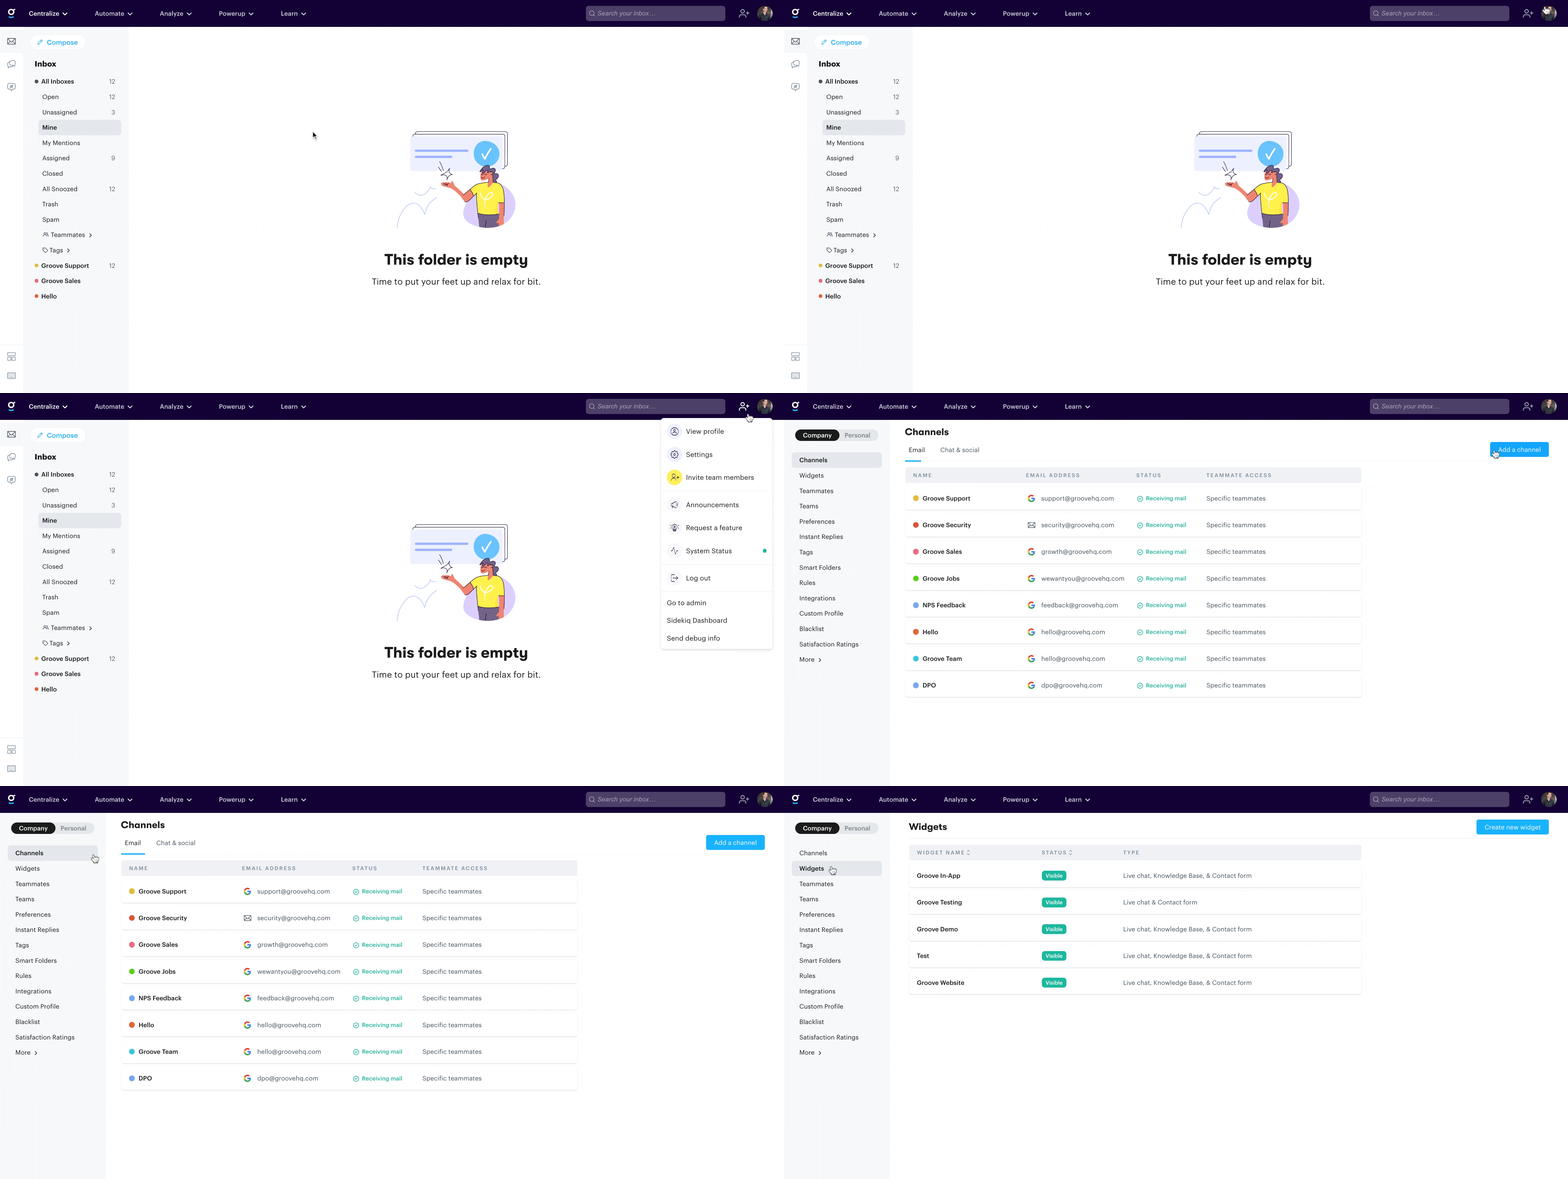
To get started, go to Settings → Widgets. This will take you to the widgets overview screen.
Setting up your first Widget
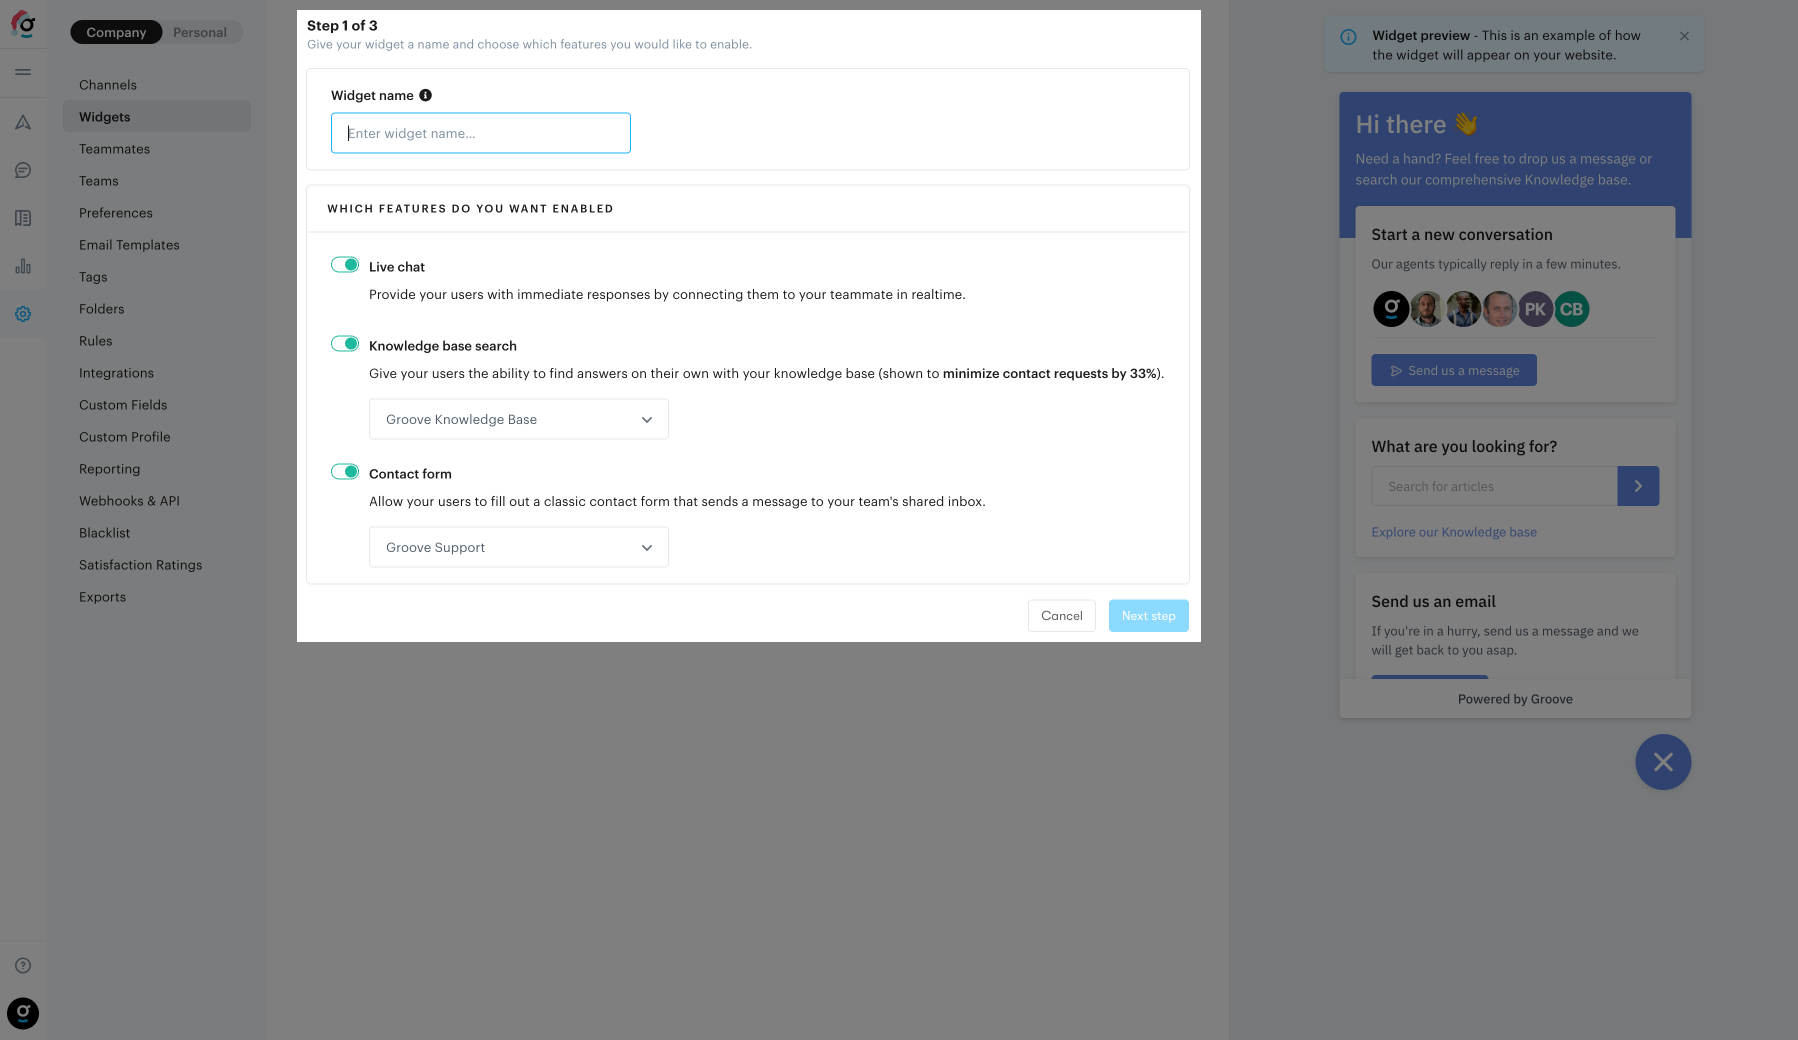
- Click Create new widget. This will open a new page where you will need to name your widget and select which features you would like to enable on it. This can all be changed later.
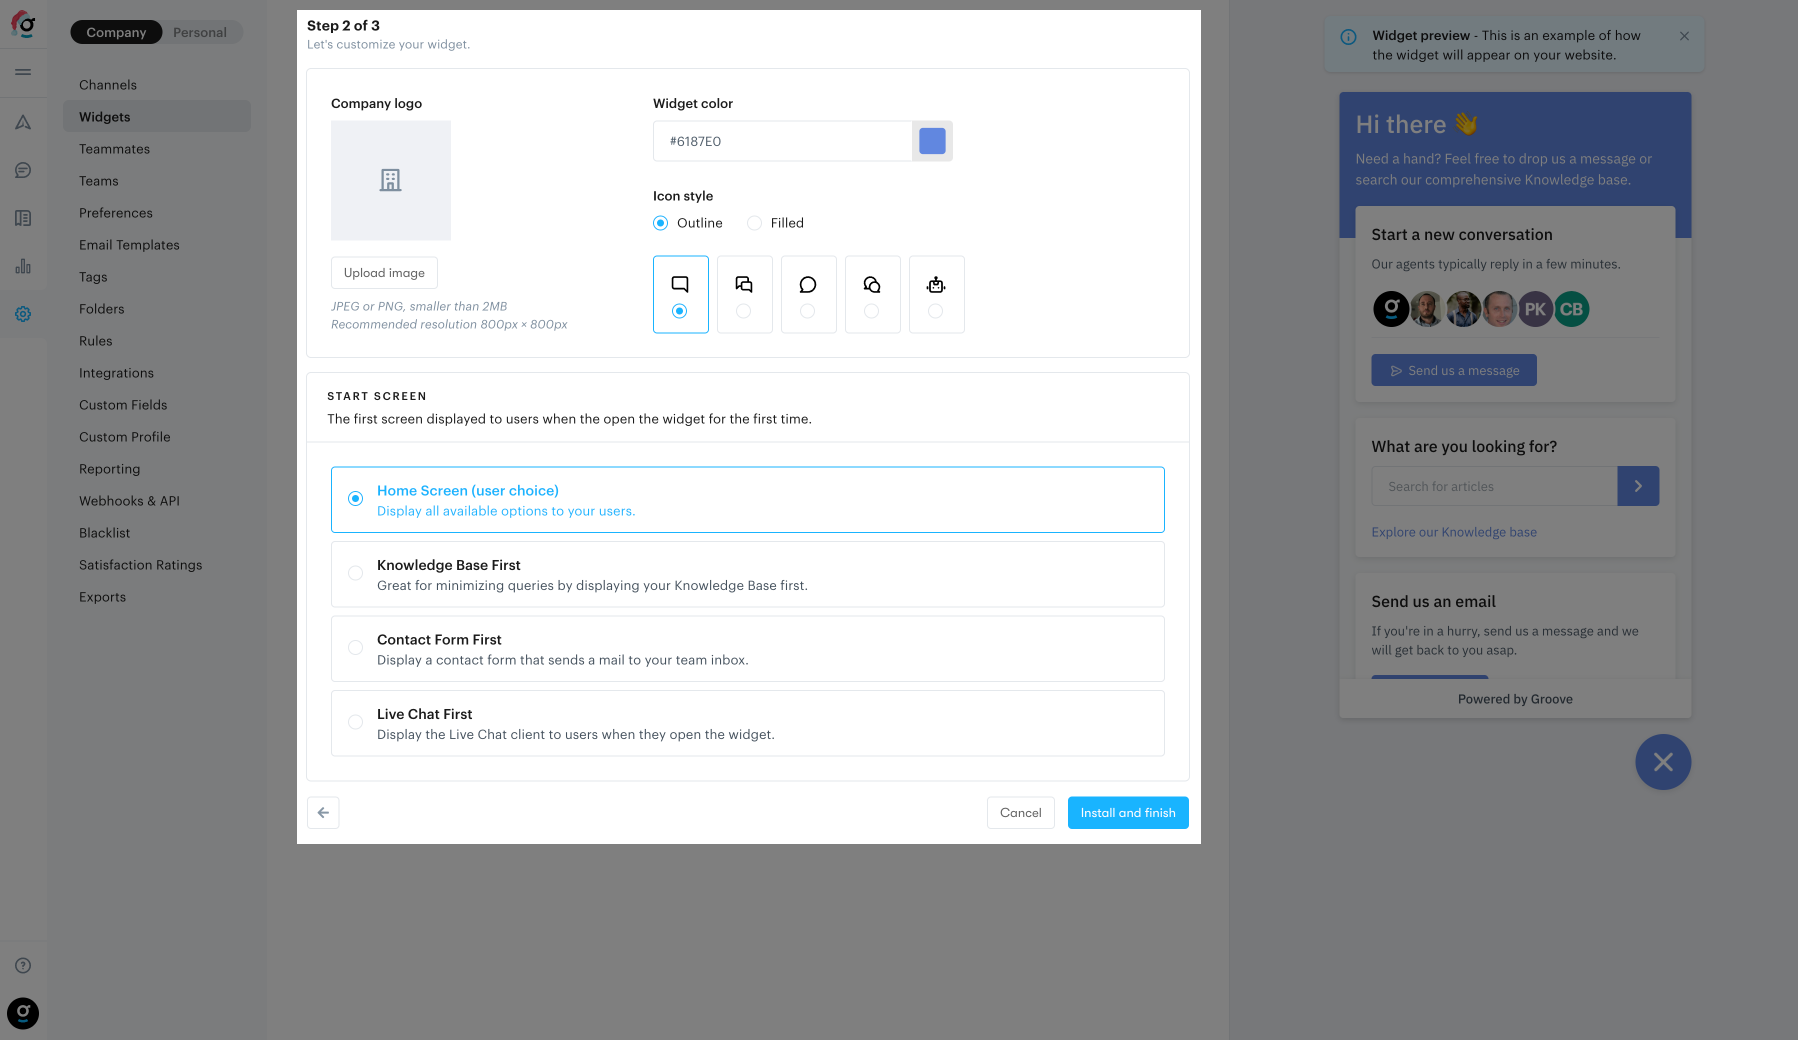
- Next, you will customize the look and feel of the widget. You can add a company logo, select brand colors, and choose the appearance for the user when they initiate the widget.
- Company logo: upload your graphic file to have this embedded in the top of the widget
- Widget name: This is the internal name used to identify your widget in the Groove settings screens
- Widget color: In the widget name field, you can use the color picker to set the color of your widget.
- Icon style: This is the icon style displayed on your widget when it is closed on your website (it displays an “×” when your widget is open).
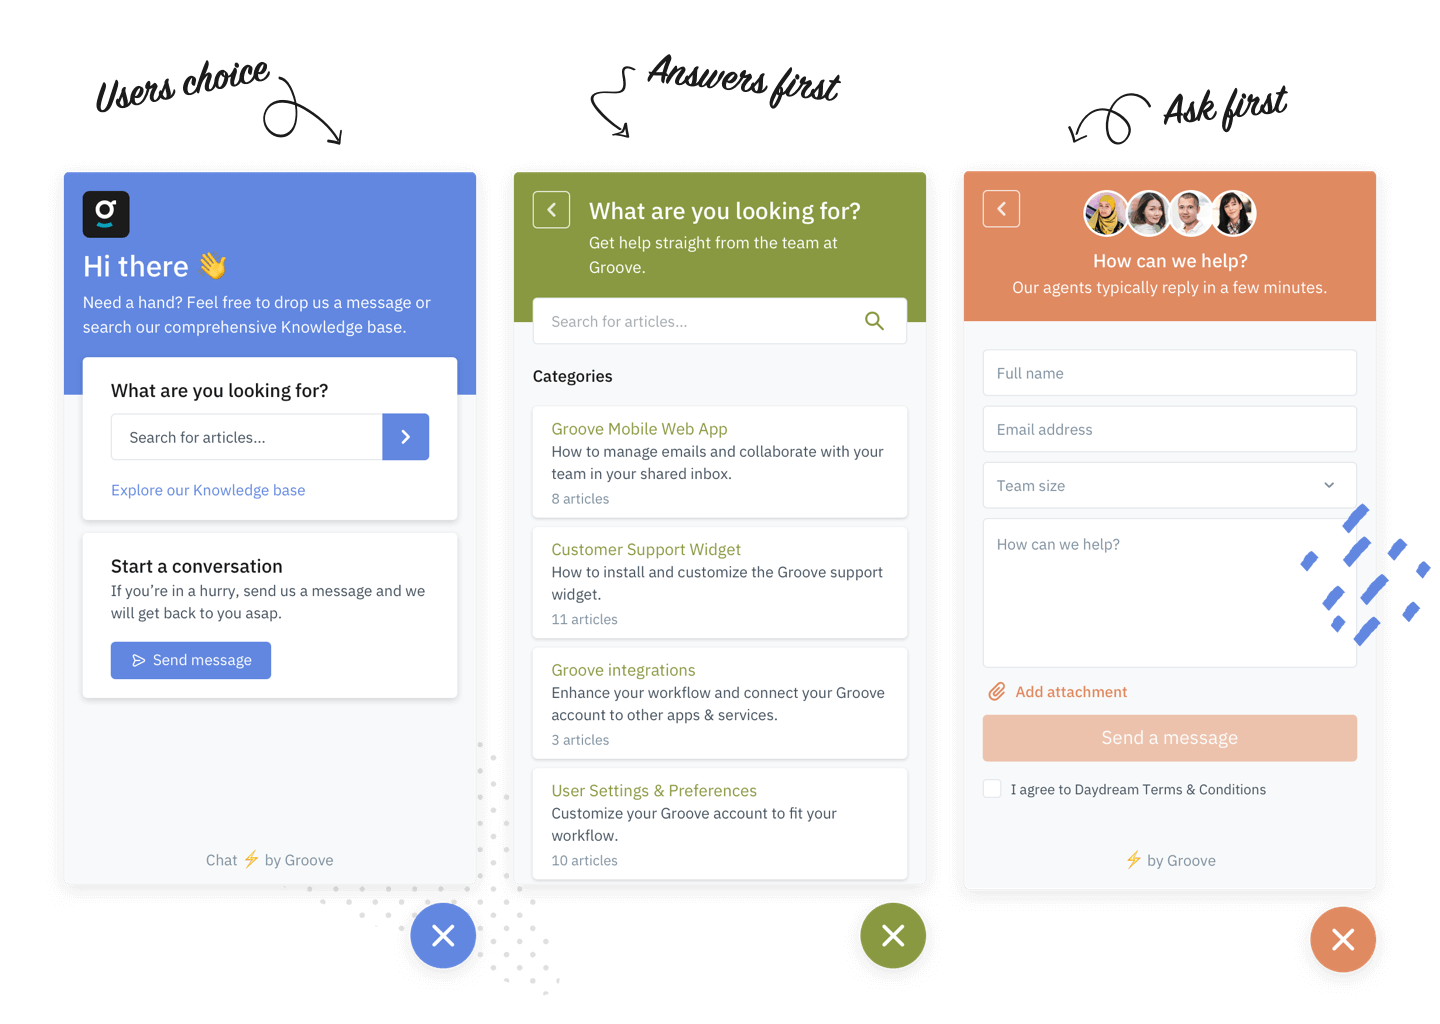
3. The Start Screen settings will dictate what a user will see when they visit your widget. Please select an option from the listing.
- Home Screen: This displays a Home Screen where the user can select to either go to Live Chat, the Contact Form, or the Knowledge Base.
- Knowledge Base First: This displays the Knowledge base first, with a button to navigate to the home screen.
- Contact Form First: This displays the contact form first, with a button to navigate to the home screen.
- Live Chat First: This displays Live Chat first, with a button to navigate to the Home Screen.
When you’re ready, you can click Install and finish.
Installation
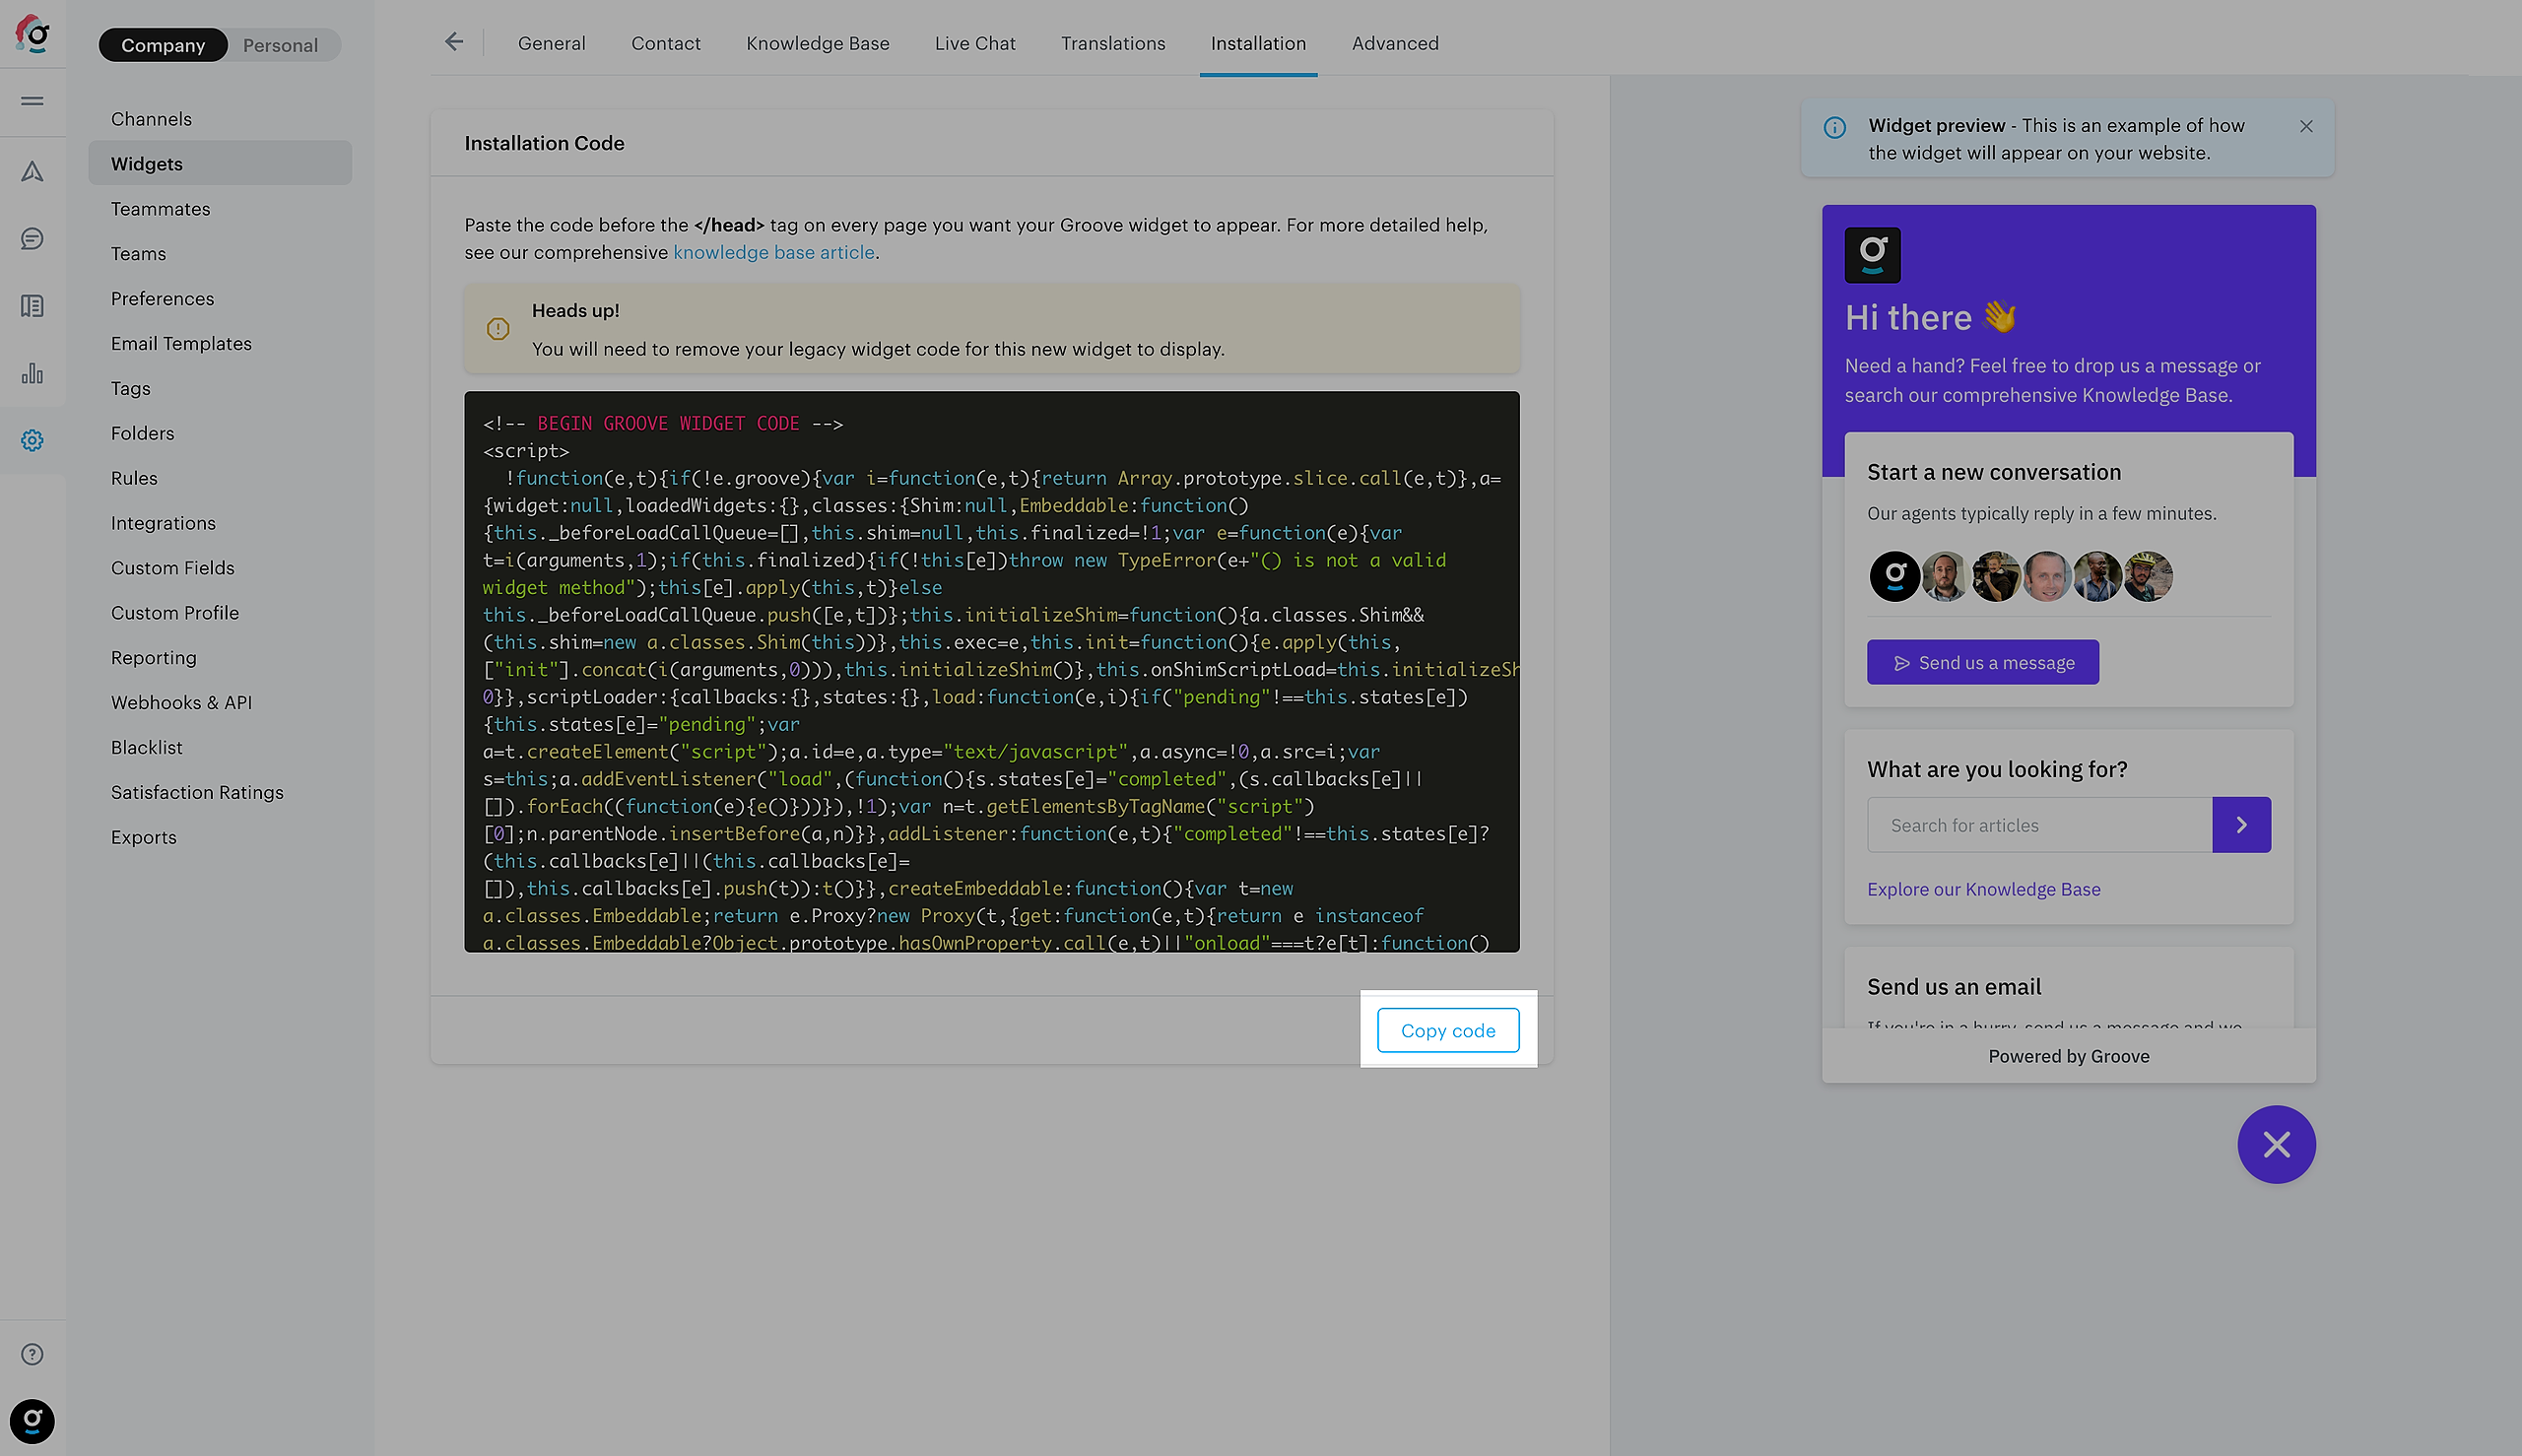
To install the widget you'll add a little snippet of code (Javascript) on the pages you want the widget to display, typically in the header or footer of the site.
If you're not sure how to install the snippet, we have created some guides to get you started here:
- Installing your widget on a plain HTML site
- Installing your widget on Shopify
- Installing your widget with Google Tag Manager
- Installing your widget on WordPress
When you're ready, click the Publish widget button.
Note: You don’t have to have the widget script placed on your website to click the “Publish widget” button, but remember that the widget will only display once you have the widget script placed on your site.
Now that you have created the basics of the widget, you can move to customization of specific widget features such as language and the Live Chat features.

