With the Jira Server integration, you can easily create Jira issues directly from a conversation without leaving Groove. Then when the issue is updated in Jira, you will get notified in Groove and you can even have the conversation re-opened.
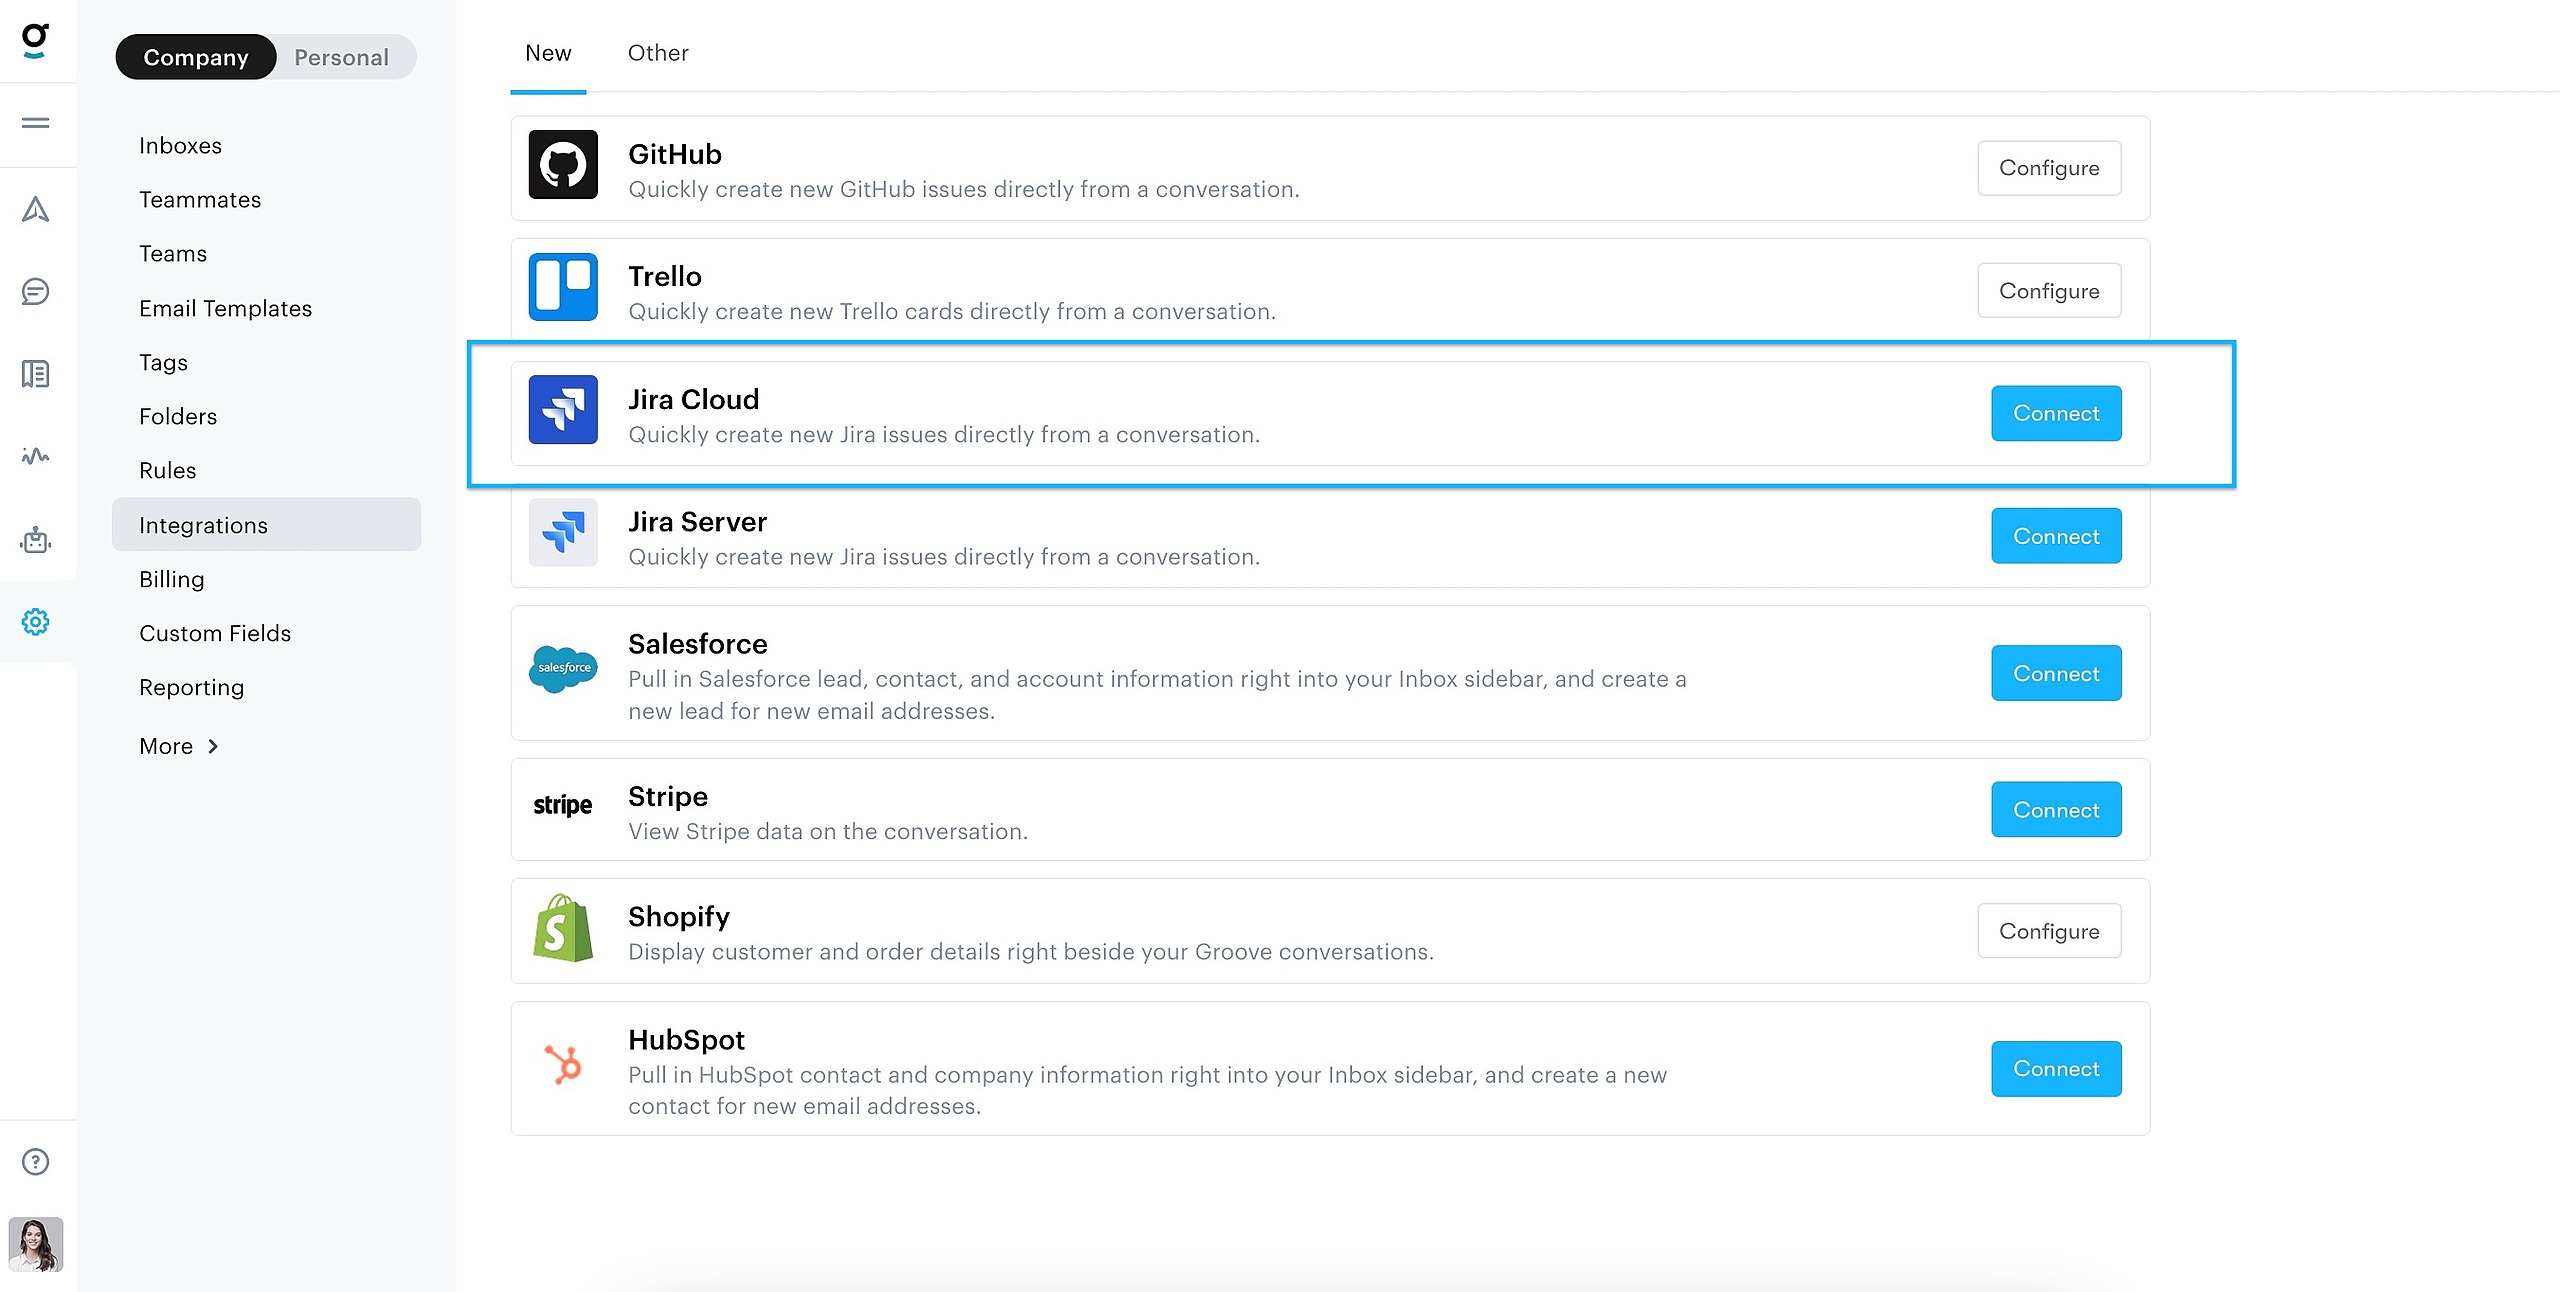
To add the integration to your Groove account, go into your Apps → Integrations and click Connect on the right side of the page.
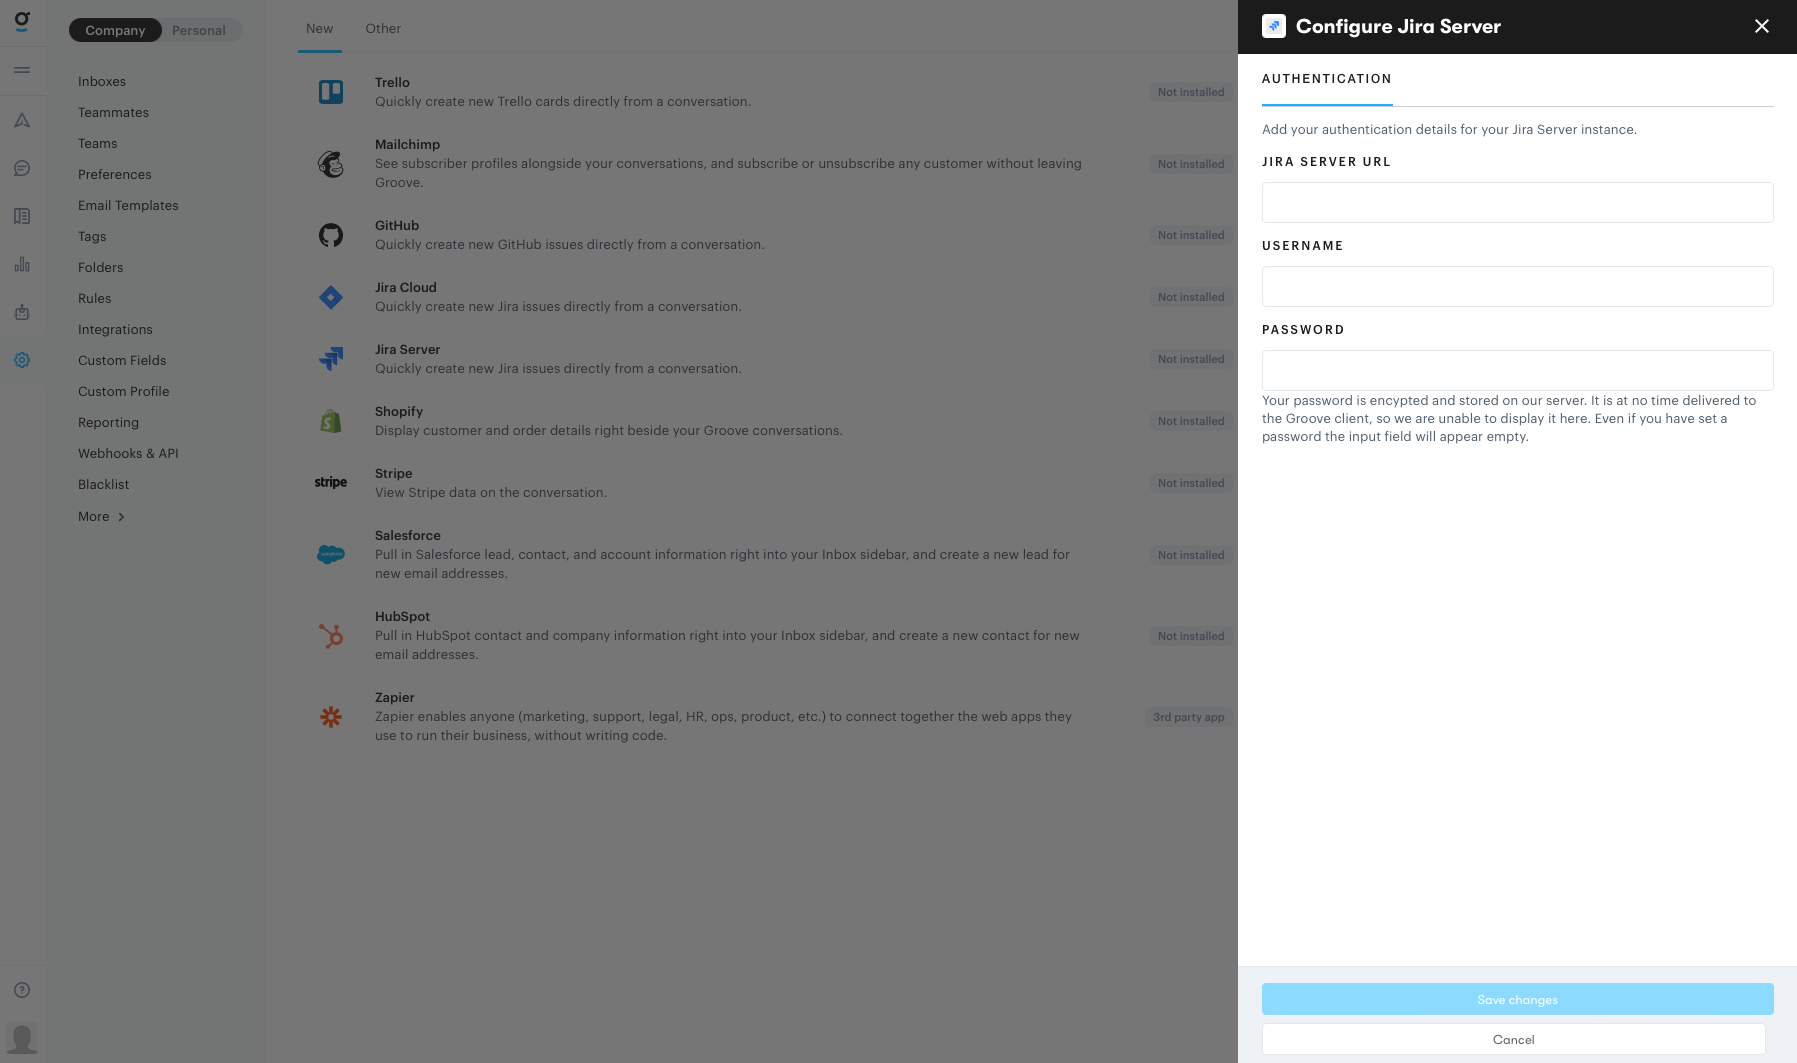
Next you will be prompted to provide your credentials.
Note: Your password is stored encrypted, and will at no time be delivered to the Groove client. Even if you have set a password the input field will appear empty.
Once you're connected, you can add a conversation to a Jira issue by clicking one of the integration buttons in your sidebar. You have the option to create a new issue, or you can add to an existing issue:
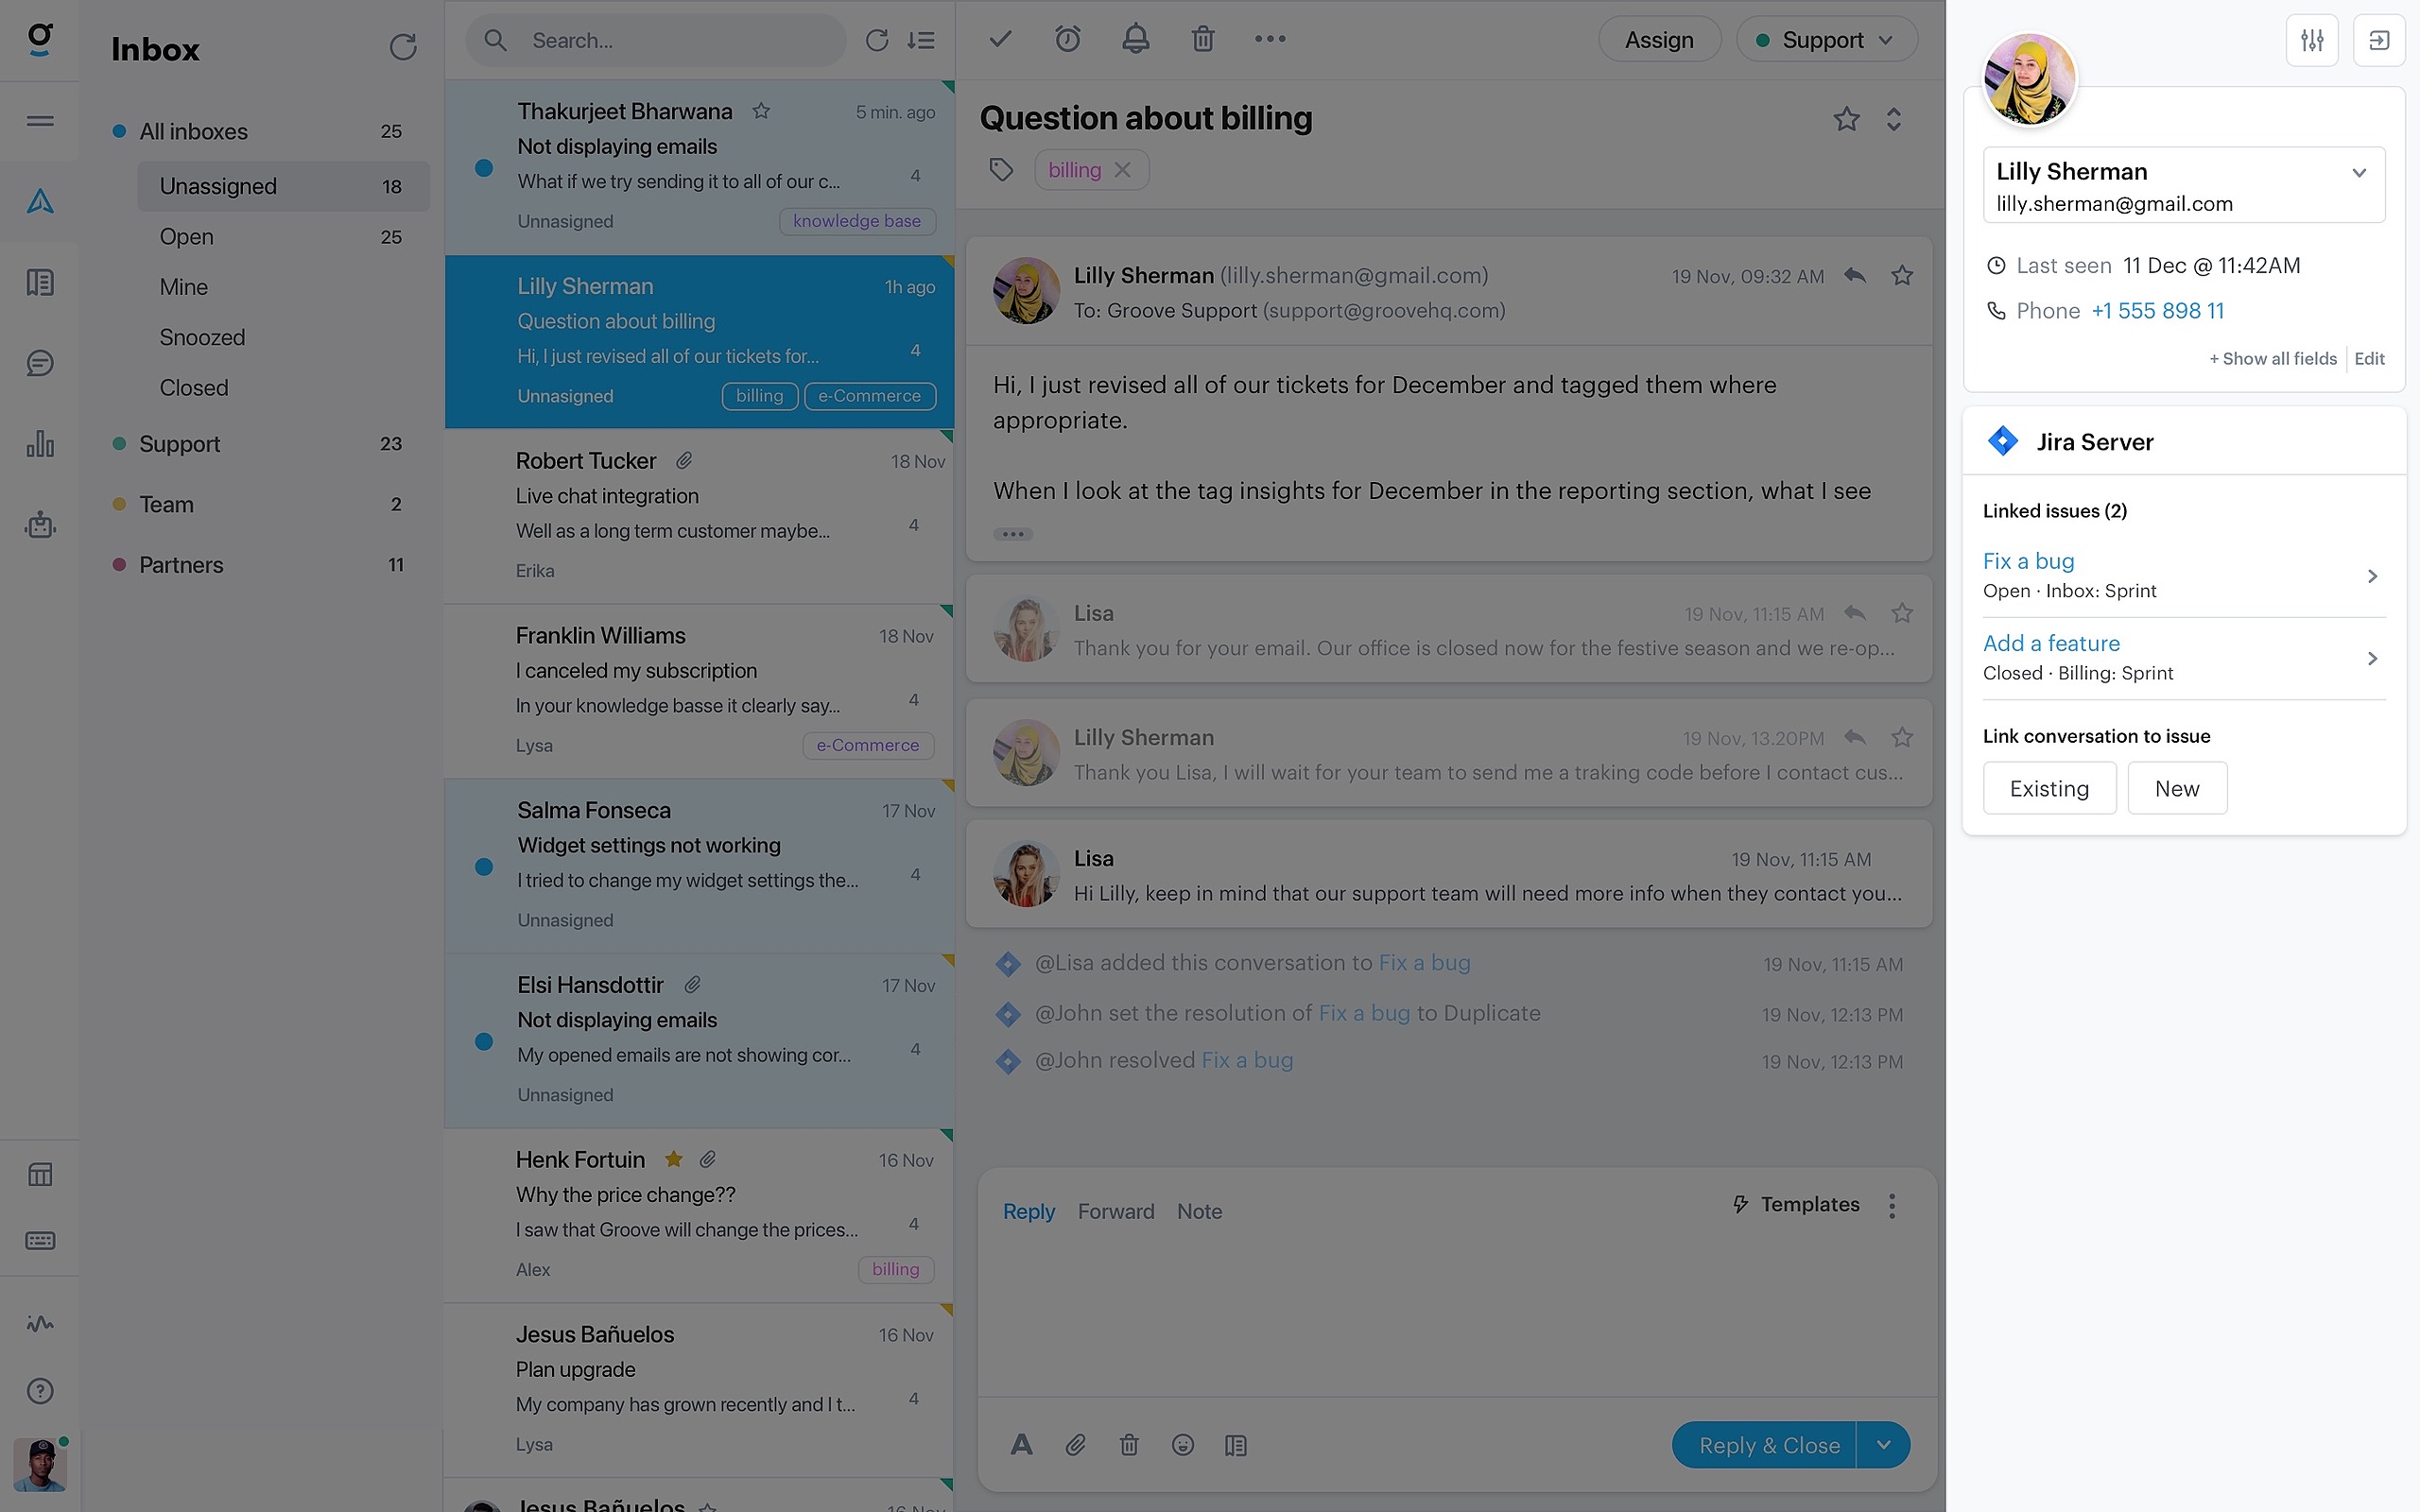
For existing issues, simply locate the issue you would like to attach your conversation to by searching.
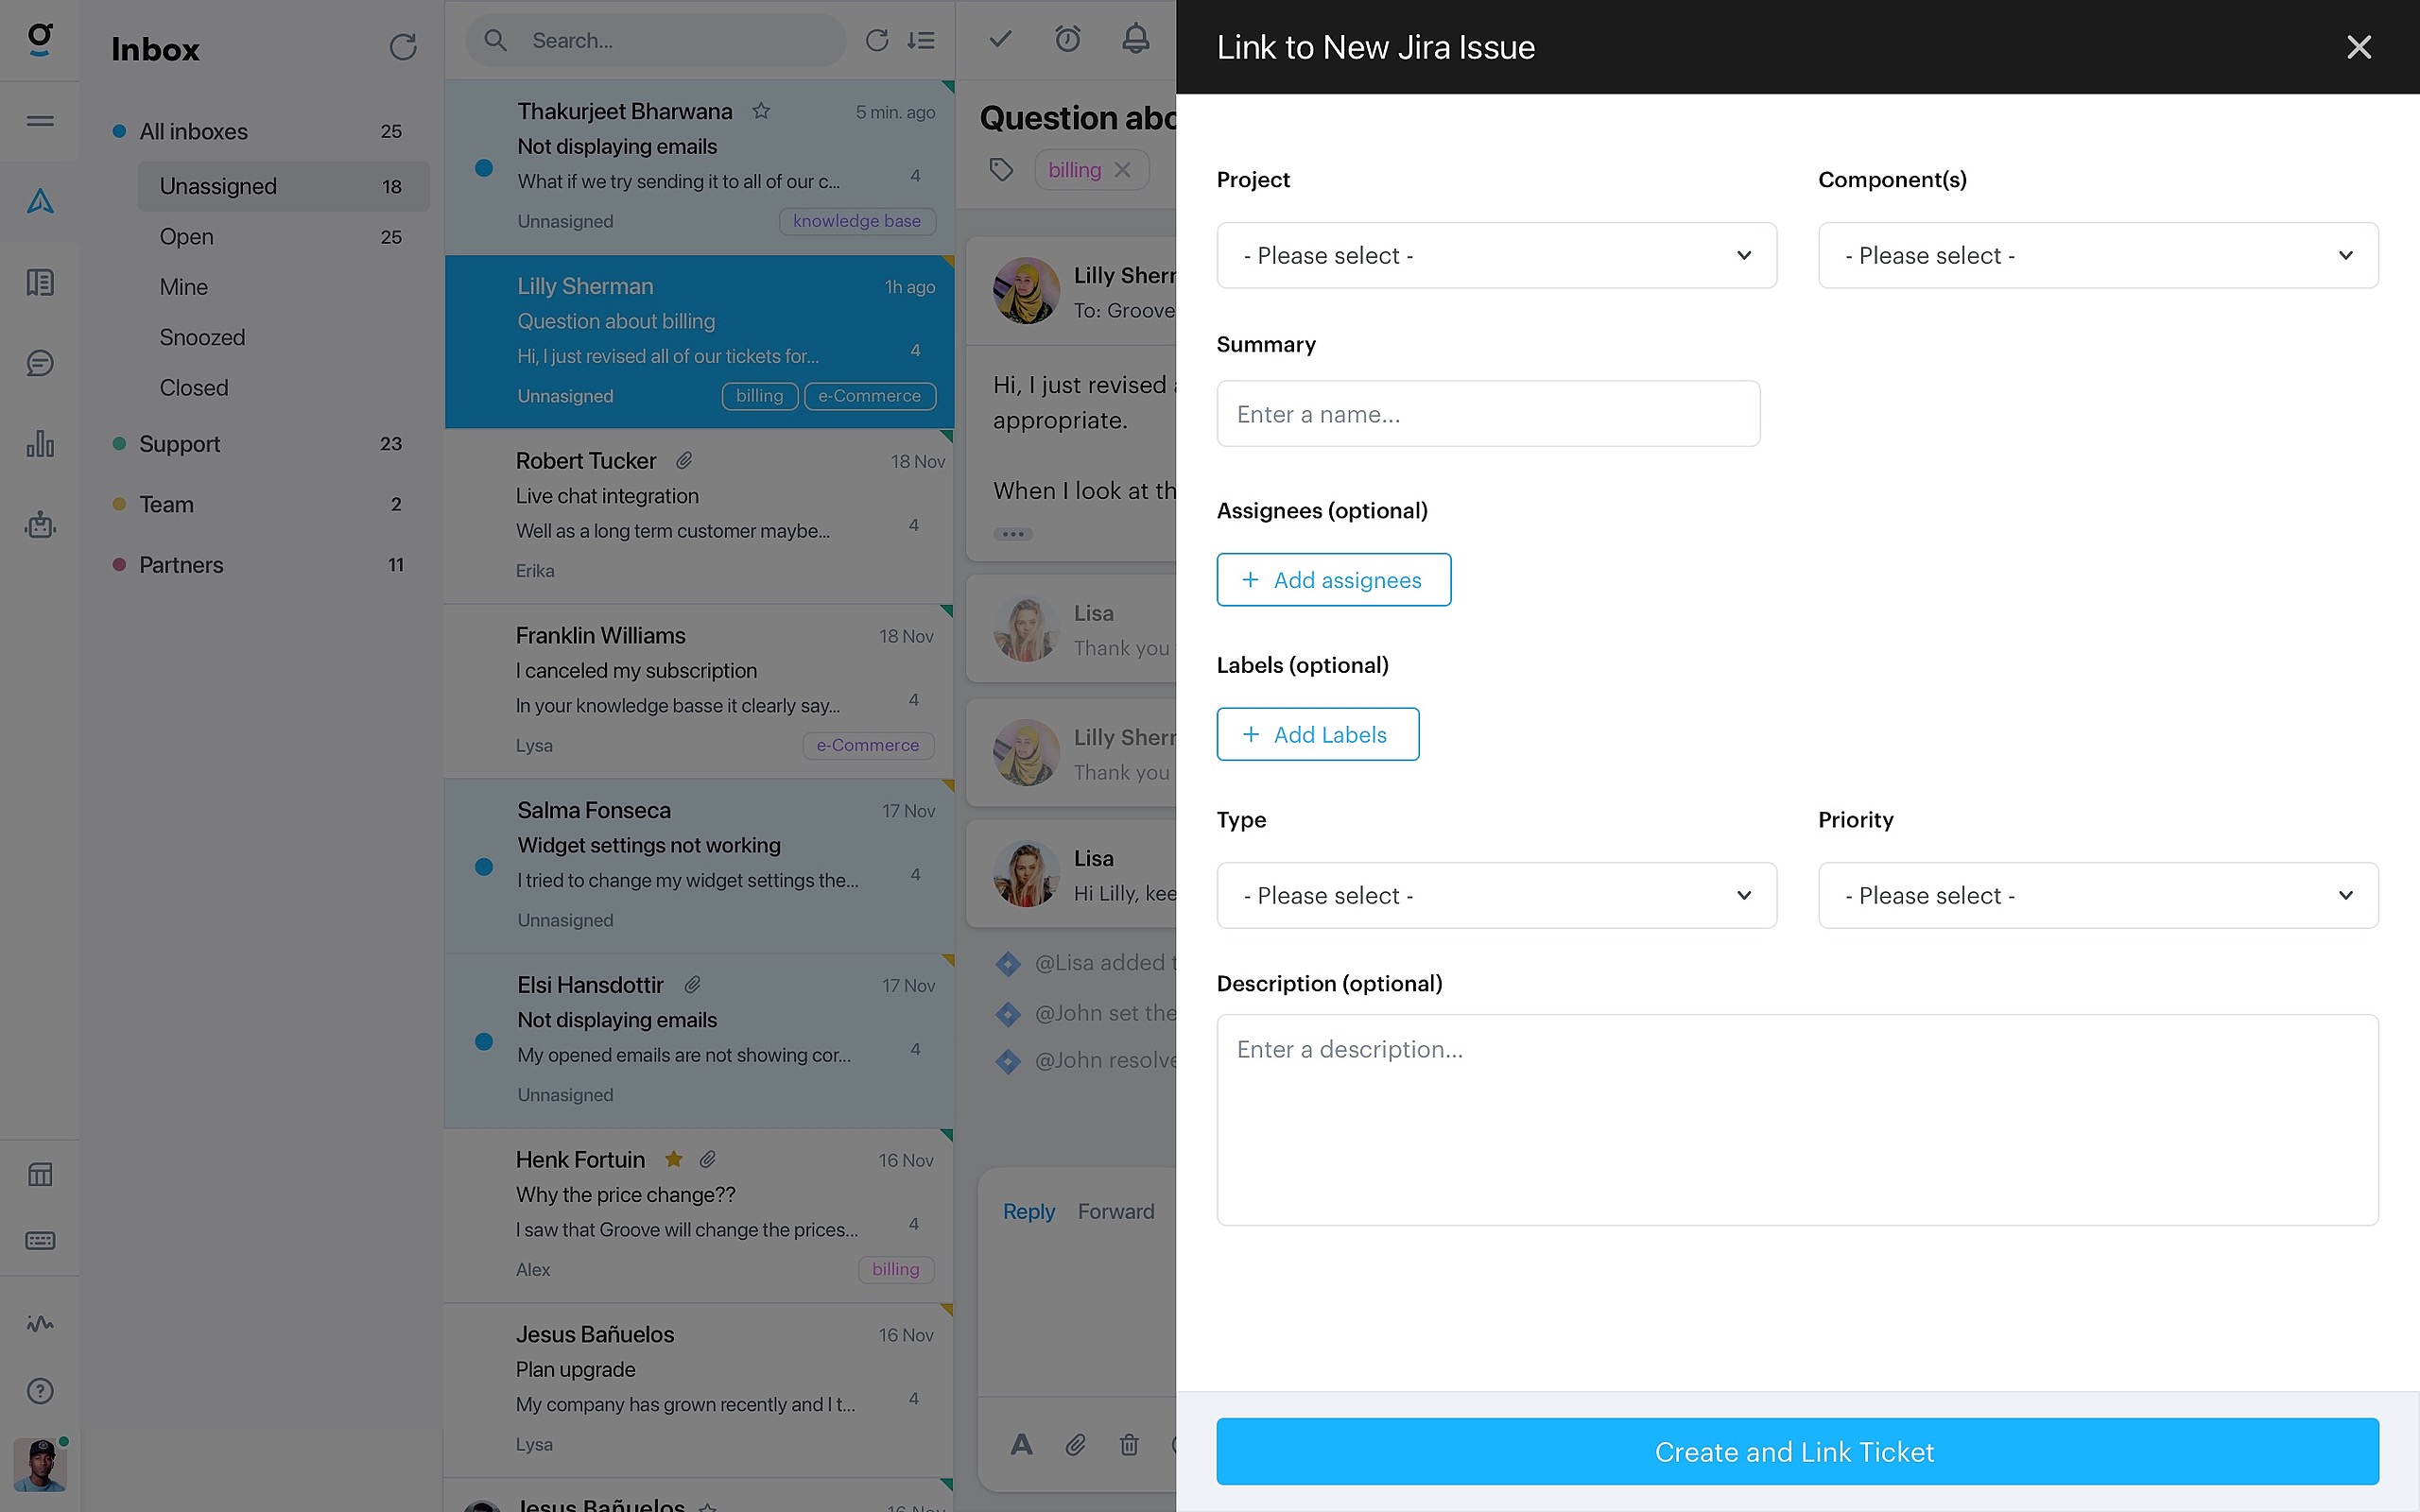
For new issues you can set the following attributes:
Project
Type
Summary
Description
Assignees (optional)
Labels (optional)
Components (optional)
Priority (optional)
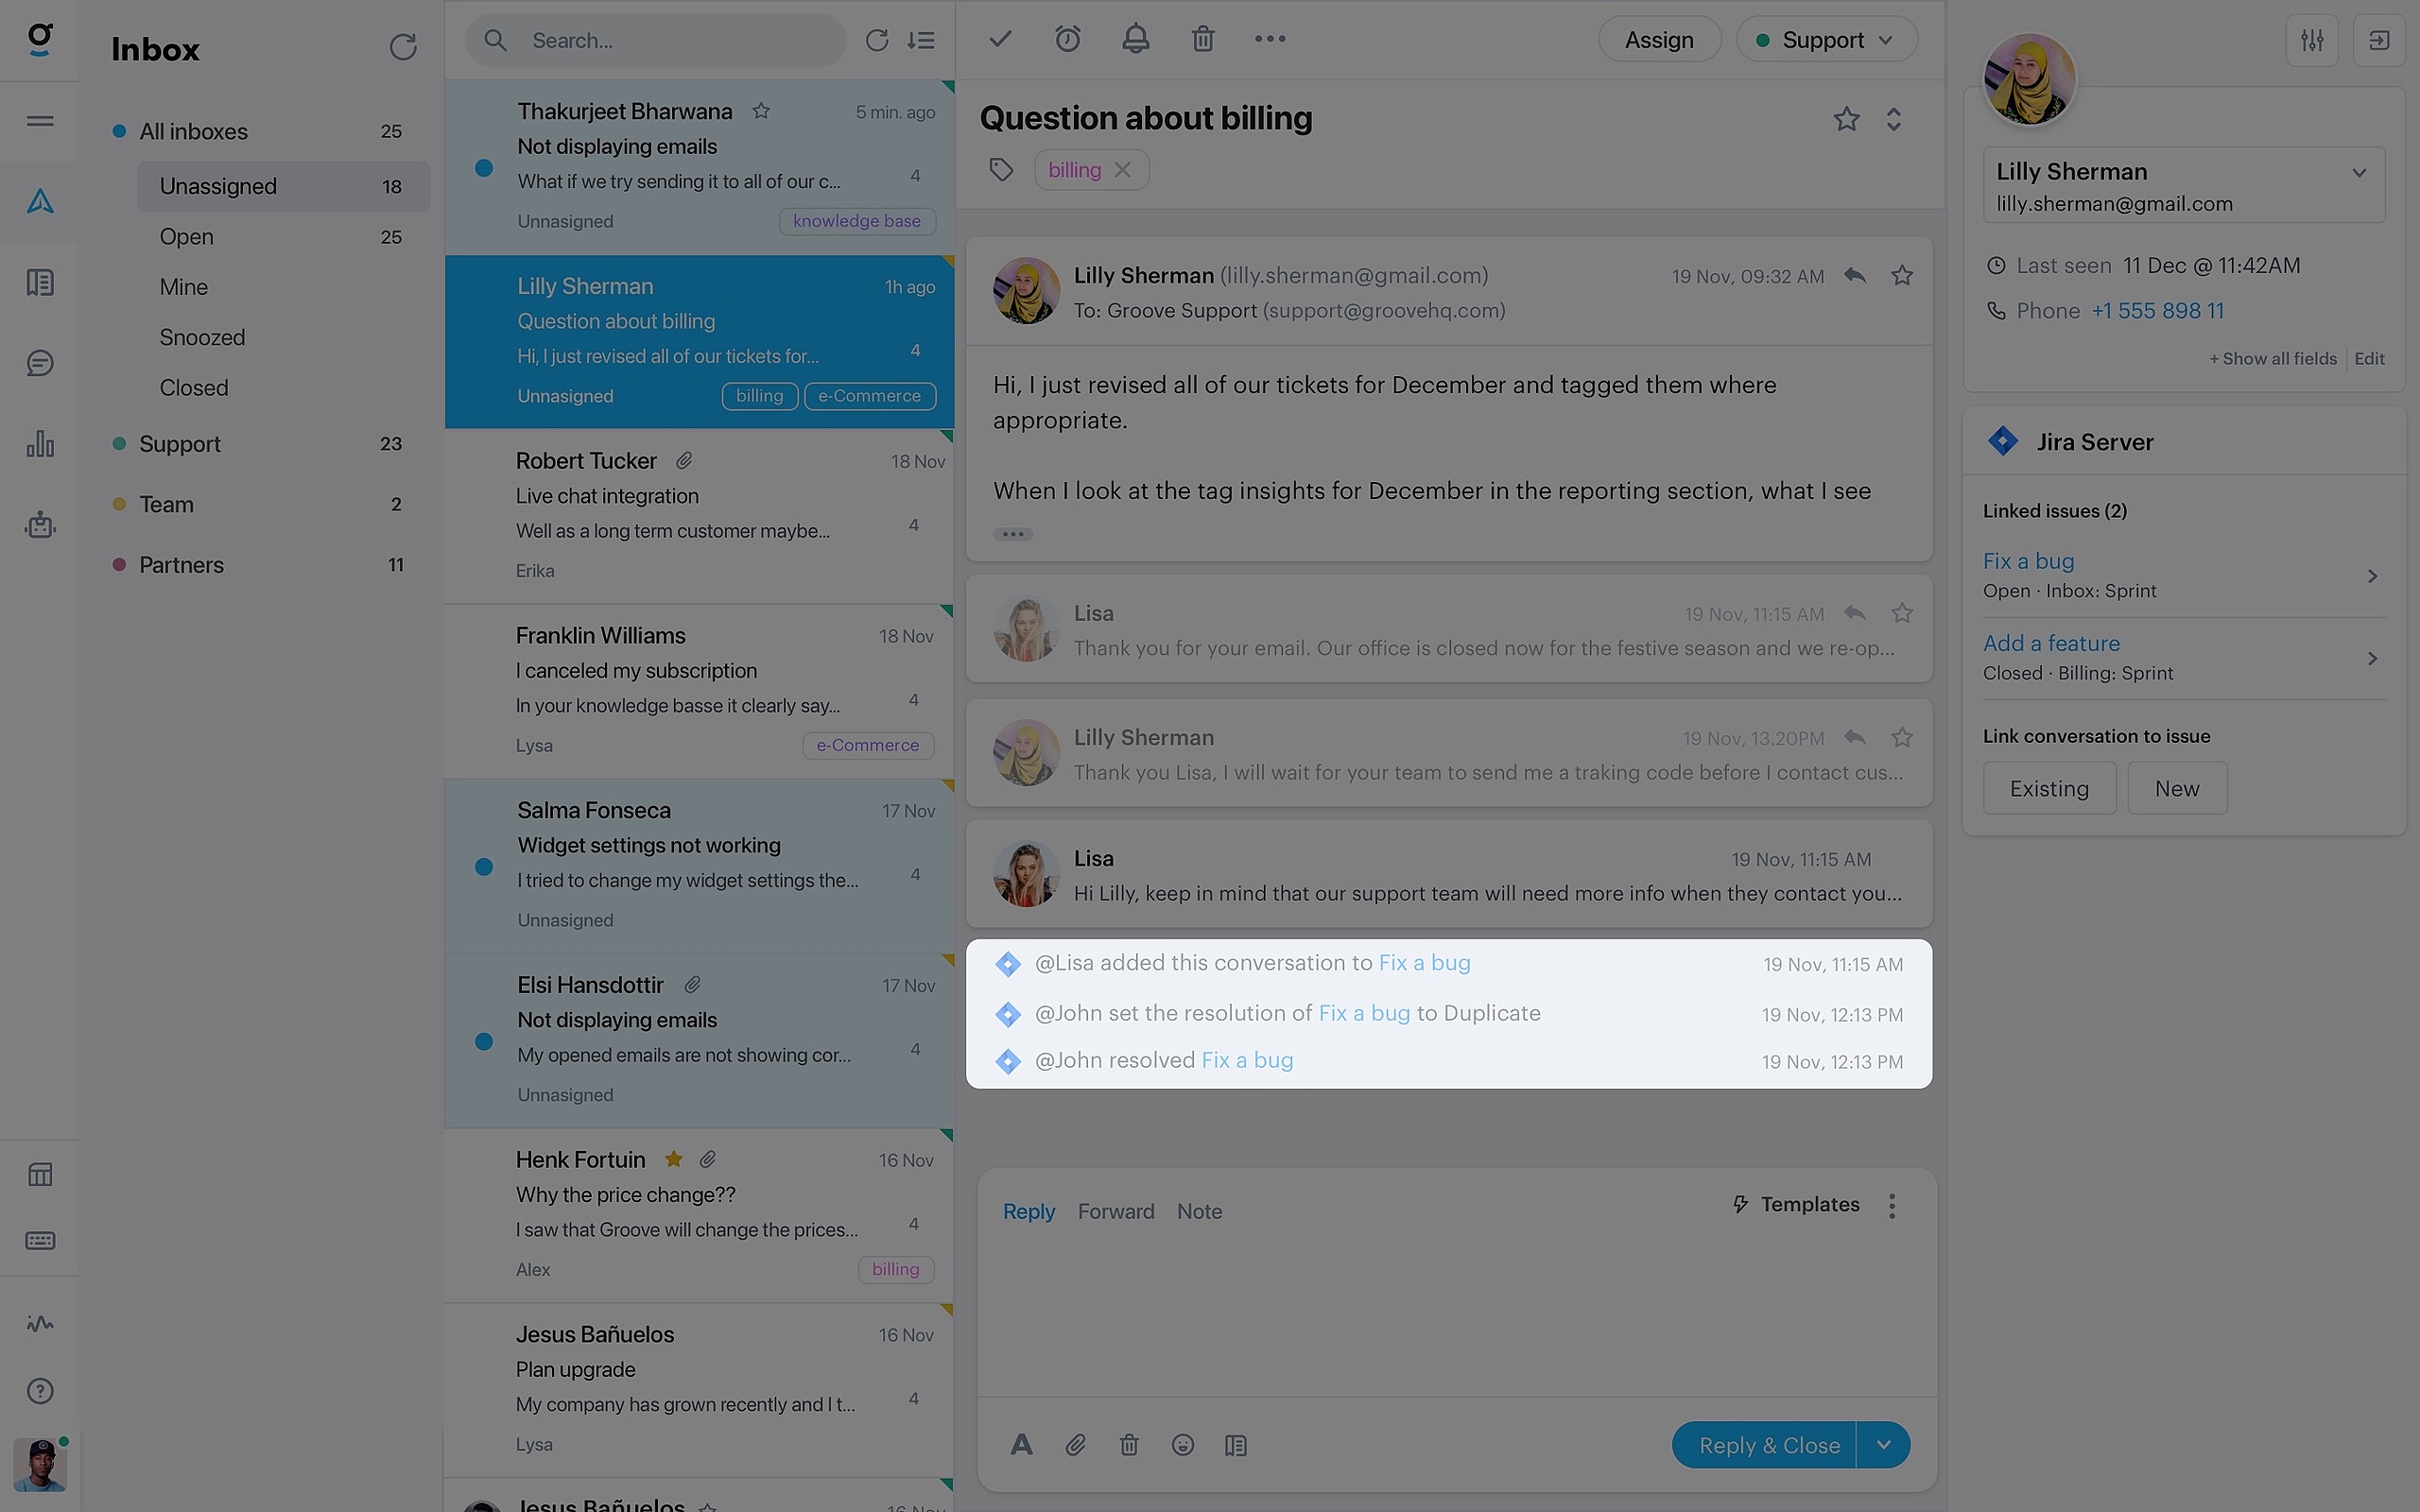
After the conversation has been added to Jira, a link appears underneath the message so that you can quickly access the associated issue. Furthermore, from this point on you will see the issue's full status right in your sidebar and all updates on the issue in Jira as actions in the conversation, depending on your settings. You can even have one or more of these actions re-open your conversation!
Note:
Settings for the Jira integration are on an account-level, meaning that changes you make to which actions to show or which actions should re-open conversations, will be set for all users in your organization with the Jira integration installed. Actions are also saved globally, so all actions created through this integration will be visible to all agents in this account.
Customized workflows and elements might not work as expected. Contact our support team in case you run into any issues.