You can have multiple email addresses under a single Groove account. Create as many inboxes as you need to organize your email workflow within teams, or to support multiple products with different email addresses.
To create a new inbox, navigate to Settings → Channels → Add channel and then select Email
Once clicked, you'll need to choose between the options based on the type of mailbox you'd like to connect:
Connect Gmail: Select this to connect a Gmail or Google Workspace account. You'll be asked to authenticate with Google. Use Other email client below to connect a Gmail Alias, or Google Group
Other email client: Select this to connect any other account (using forwarding). You'll be asked to fill in the intended email address, and then to set up email forwarding.
Note: Gmail Aliases, Google Groups and Microsoft distribution lists would use this method.
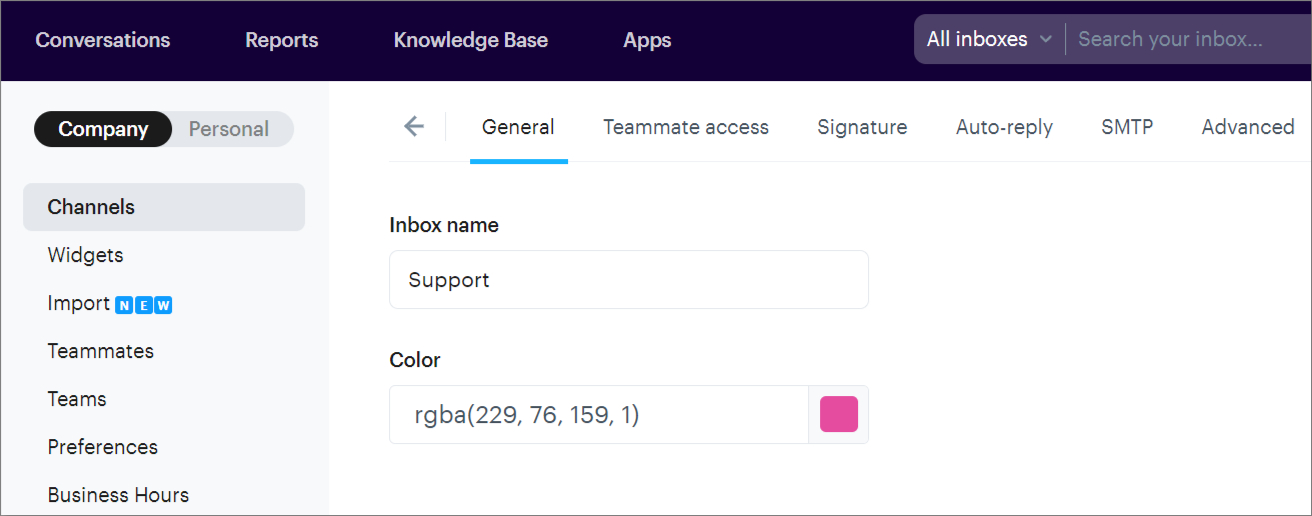
In both cases you'll also be asked to set a name and color for the new inbox, as well as configure the teammate access. You can always change these settings later, as well as further configure the inbox by clicking on it from the list view.
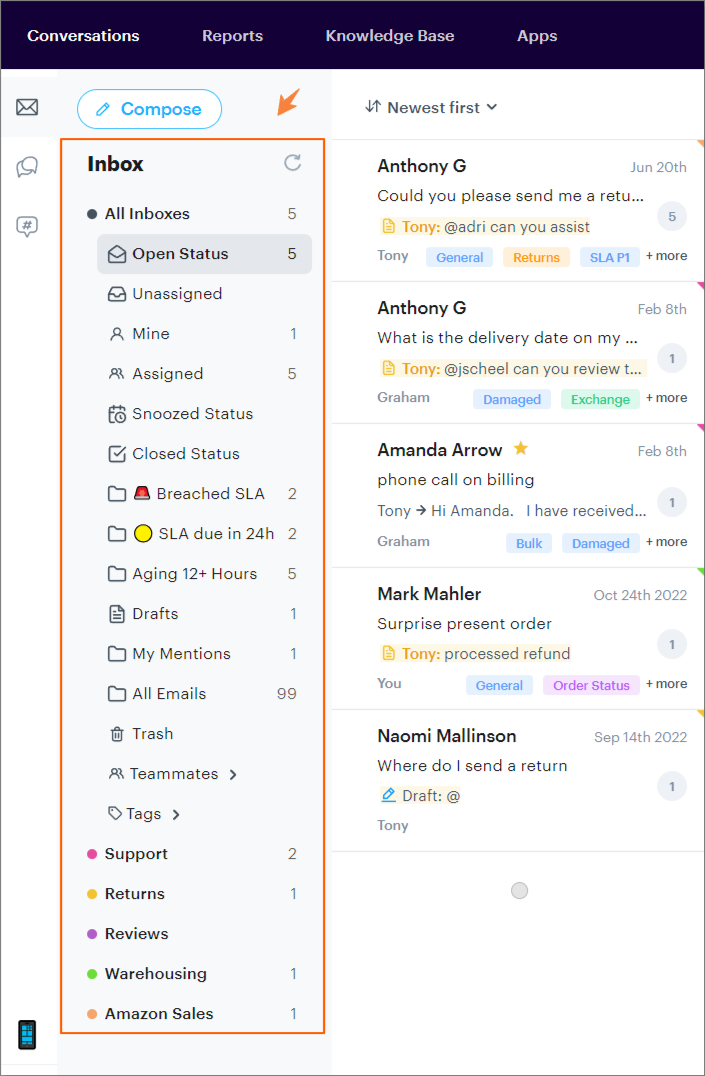
Now when you're in your shared inbox in Groove, you'll see all of the inboxes you have access to listed in the left navigation.
When you support multiple inboxes, teammates can change what inbox to send a reply from when answering customer requests within the conversation. As default, we'll send the reply back from whatever email address the customer originally contacts you at.

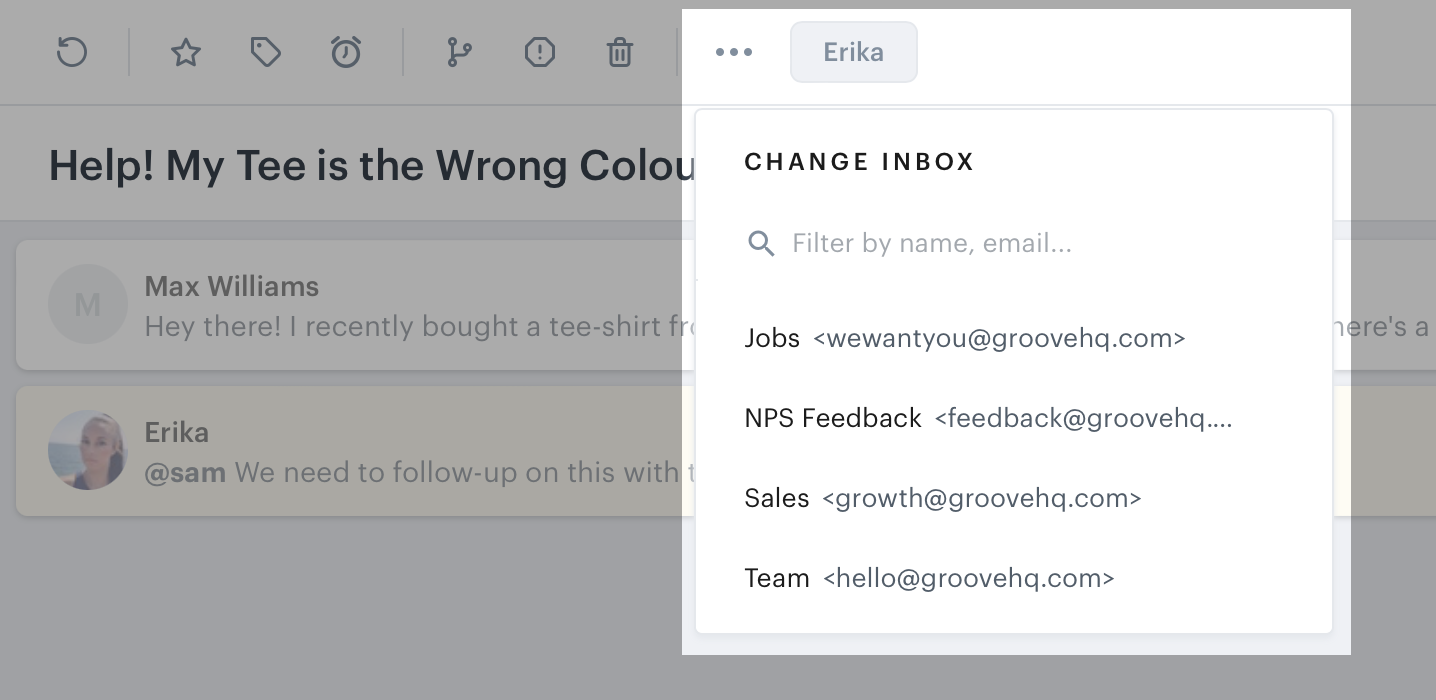
Conversations can also be moved between inboxes. To move a conversation to another inbox, click the more actions button at the top of the page (···), click on Change Inbox, and then select the new inbox.
Re-ordering Your Inboxes
To change the order that your mailboxes are listed both in your settings and in your left menu navigation in your Inbox, head over to your Settings → Channels → Email.
From your mailbox overview page, you can simply drag and drop your mailboxes in the list to re-order them by using the draggable handle. No need to save, once they're dragged into position they'll be updated when you go back into your Inbox.
Deleting An Inbox
If you need to delete an inbox, you can follow the guide here. Note: