Before You Start
Completing this task requires some jumping back and forth between two accounts. To help the work go smoothly, open your Outlook.com account in one browser tab and your Groove account in another.
Configuring Groove Settings
The first step is to set up your Groove Inbox.
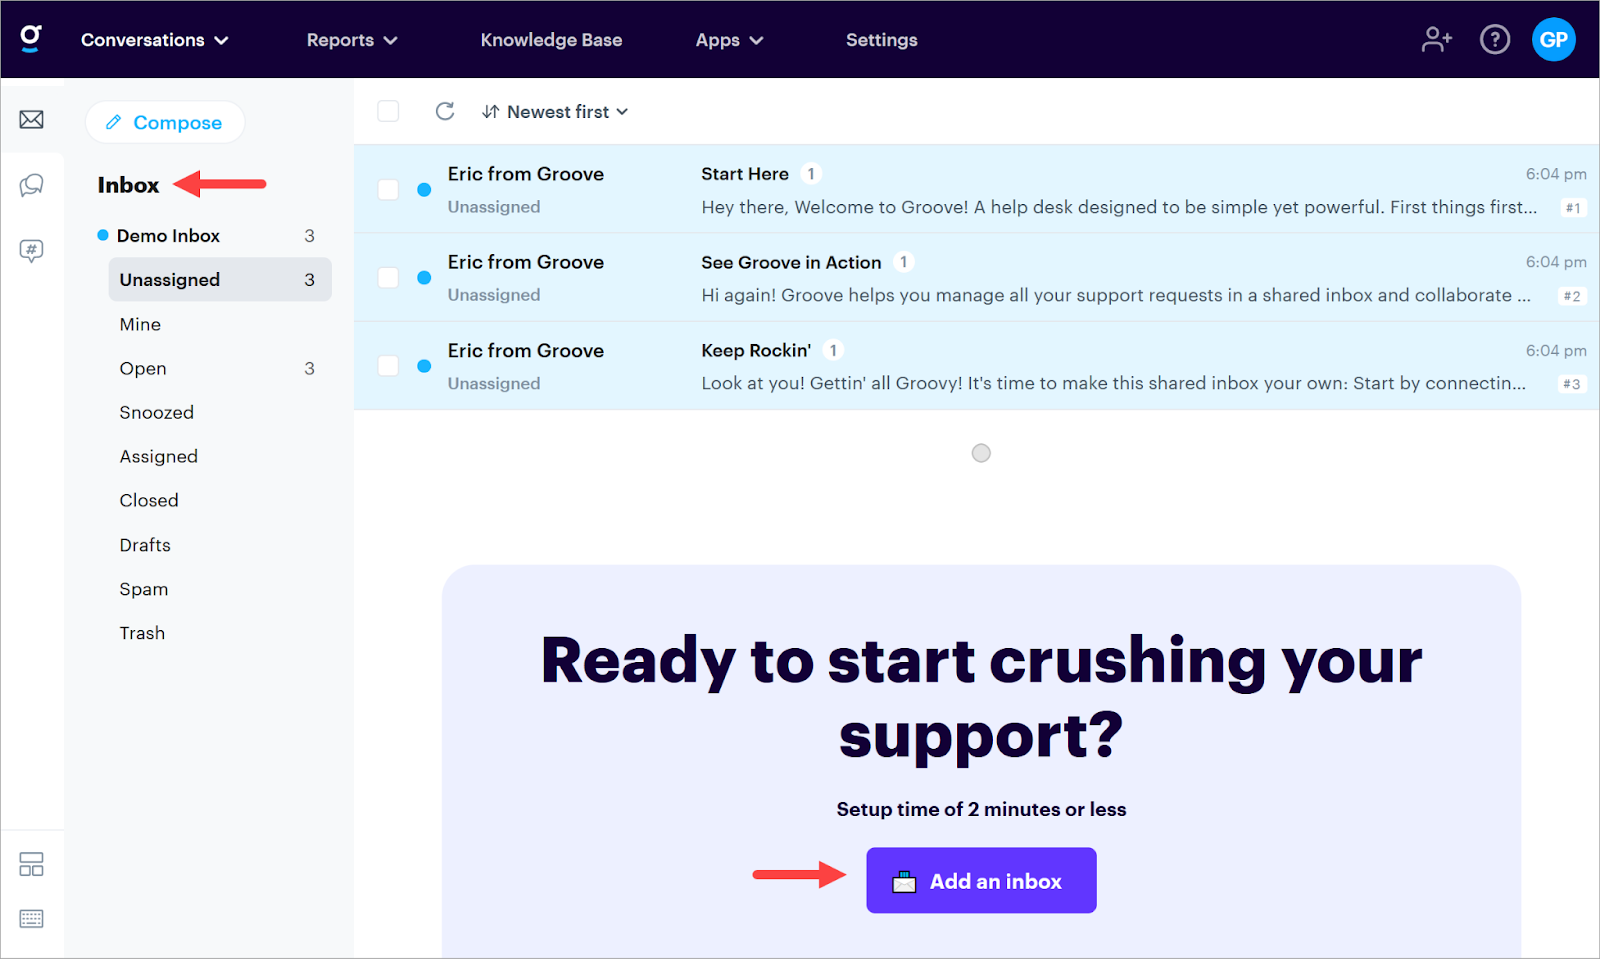
Go to your Groove account and make sure the Inbox page displays. If you happen to open a different page, click the Groove icon in the top left corner and then select Unassigned.
Go to the center of the screen and click the Add an inbox button, or navigate to Settings > Channels > Add a channel
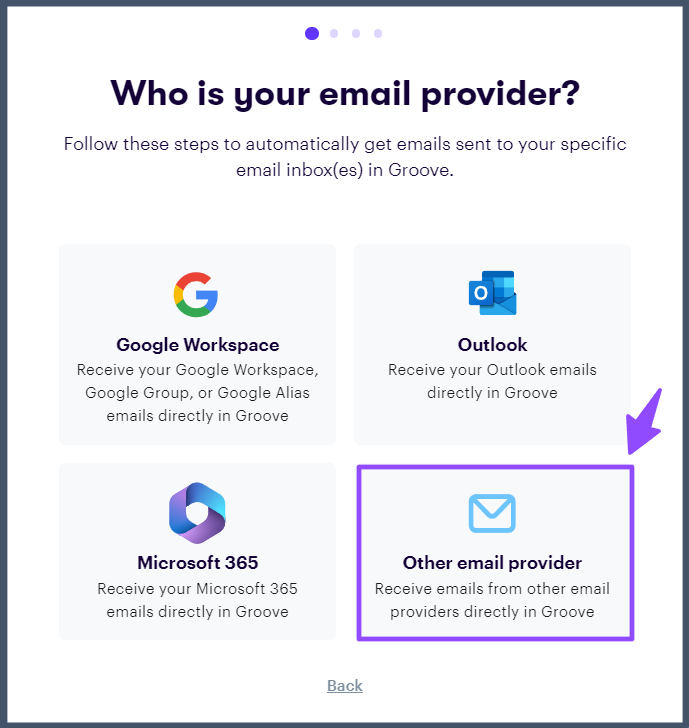
In the popup window, click Other email provider.
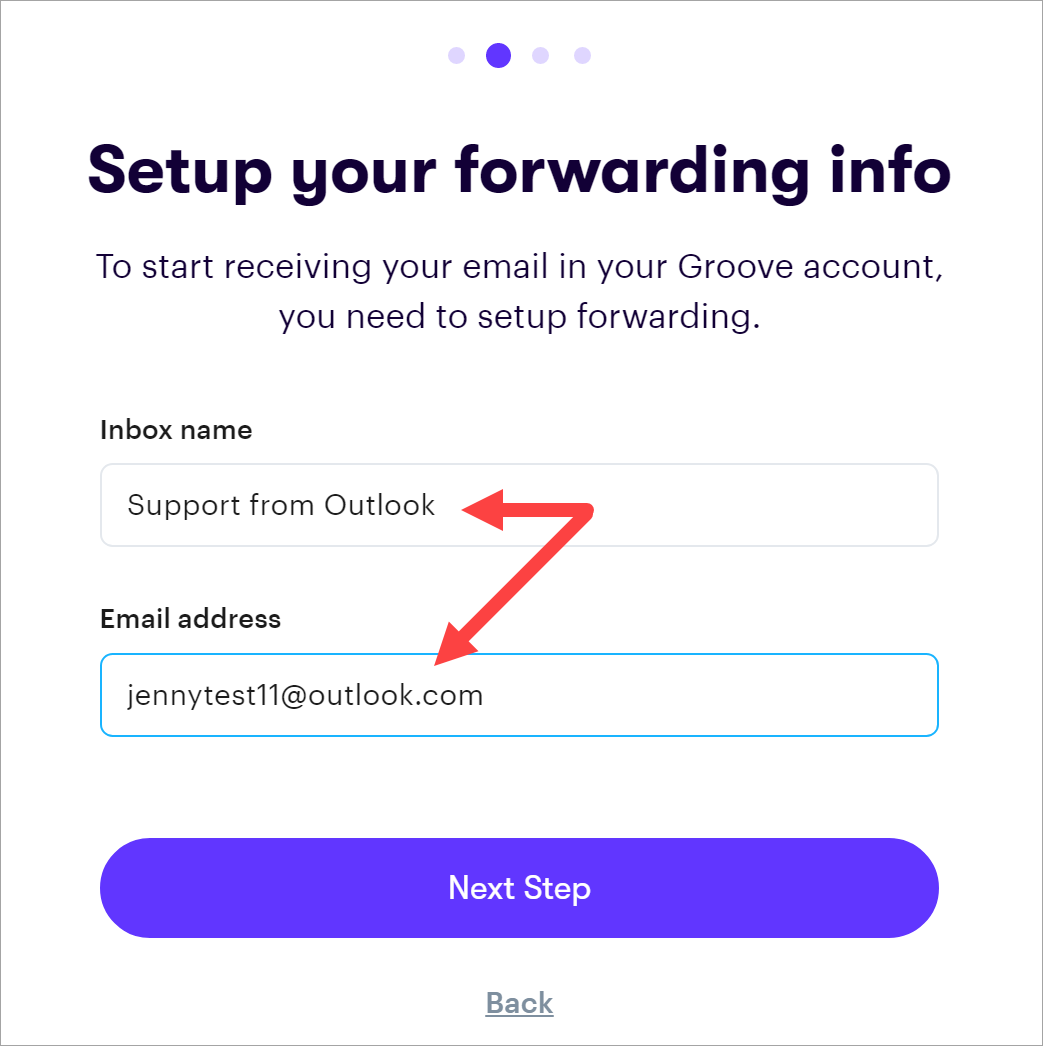
In the next window, fill in two fields.
Enter a unique name for the Groove Inbox. This internal reference helps you quickly understand the source of incoming messages.
Enter the Outlook.com email address that will send messages to this Groove Inbox.
Click Next Step.
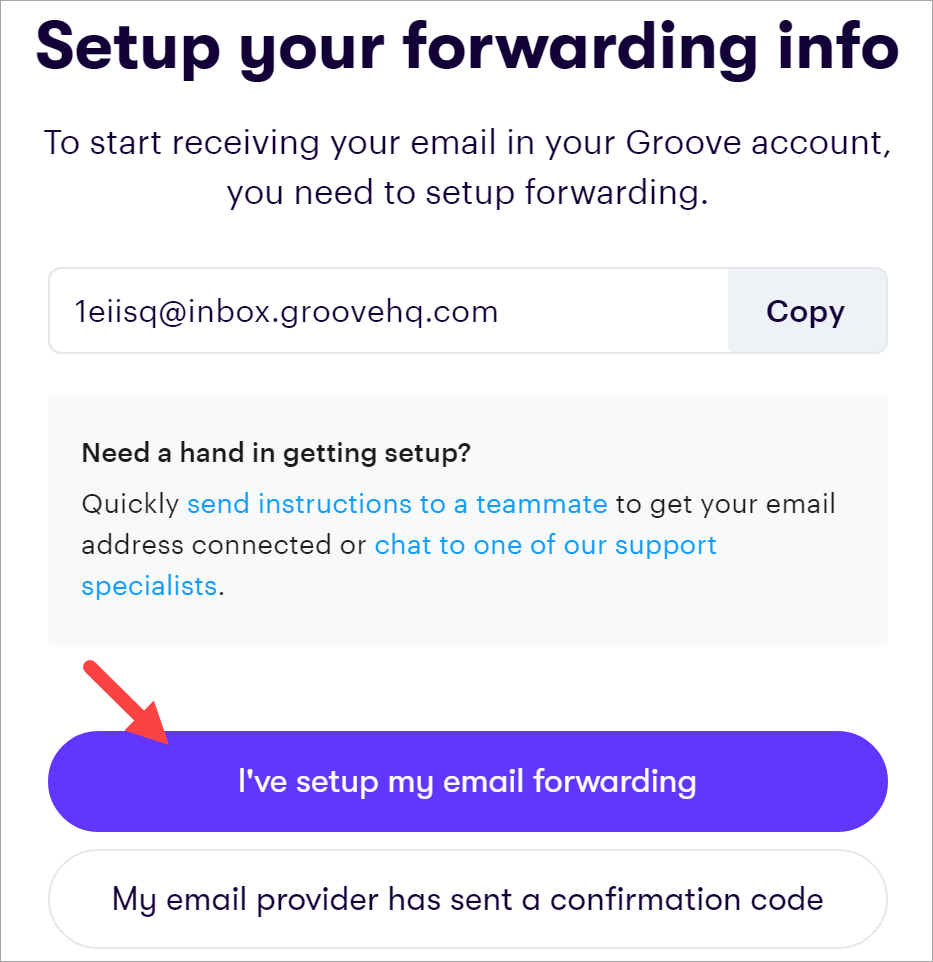
Go to the Groove window (see screenshot below) and copy the unique Inbox address. Now get ready to leave this browser tab - but don’t close it.

Setting Up Outlook.com Forwarding
Go to the browser tab with your open Outlook.com account.
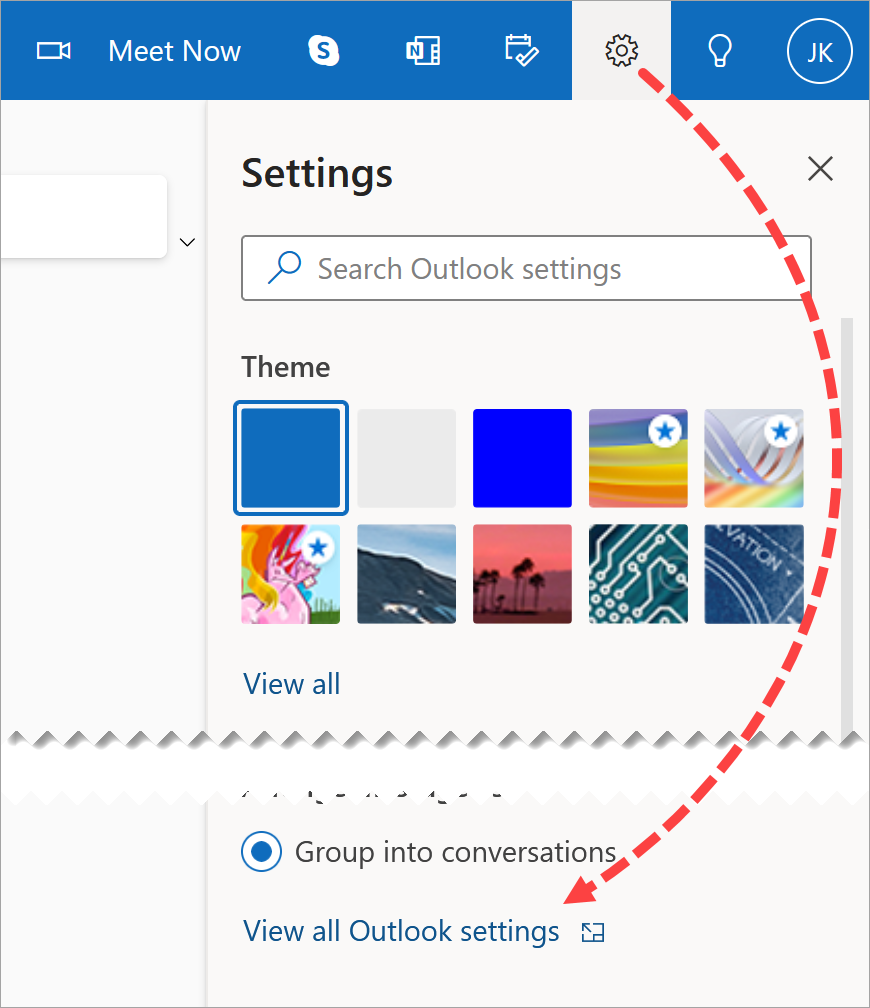
Click the Settings (gear) icon in the top right corner of the page.
Scroll down the panel and click the View all Outlook settings link.
Now link Outlook.com to your Groove Inbox.
Note: As you complete these steps, the workflow might prompt you to enter your Outlook.com password.
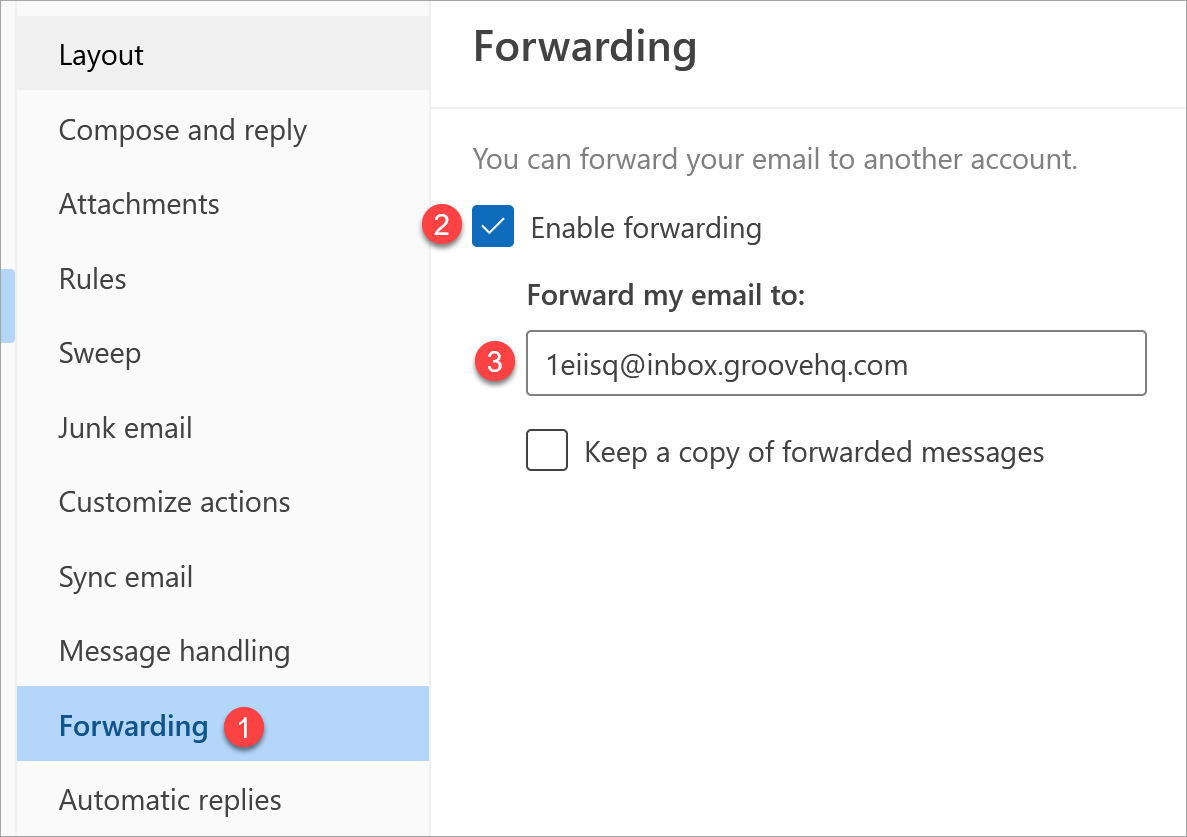
Click Forwarding on the side menu.
Check the box to enable forwarding.
Paste in the Groove Inbox address (see above).
BTW There’s no Save button. Click the X in the corner to close the window.
Completing the Integration
You’re almost done.
Go back to the browser tab with your Groove account.
Click the I’ve setup my email forwarding button.
Groove sends a test message. If successful, two events happen.
The test message appears in the Outlook.com account.
Groove displays a popup window that lets you add members to the Groove Inbox. This is an optional step, and you can always add team members later. Learn more.

Checking the Results
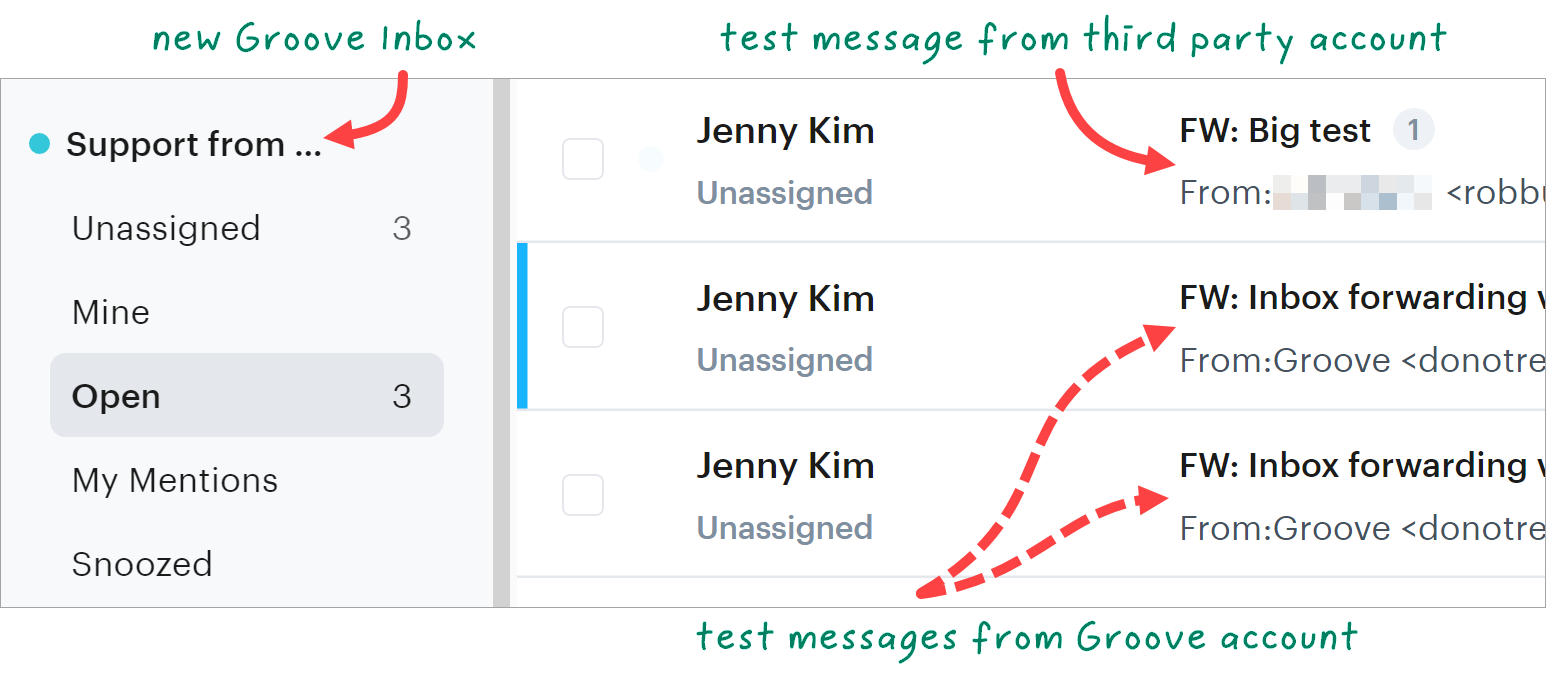
When the connection completes, Groove removes the warning icon from the Inbox name but does not display the test message.
To verify the connection, I sent two test messages from Groove. They passed through successfully. Then, I ran another test by sending a message from a third-party account to my Outlook.com account. As shown below, Outlook.com successfully forwarded that message to the Groove Inbox.
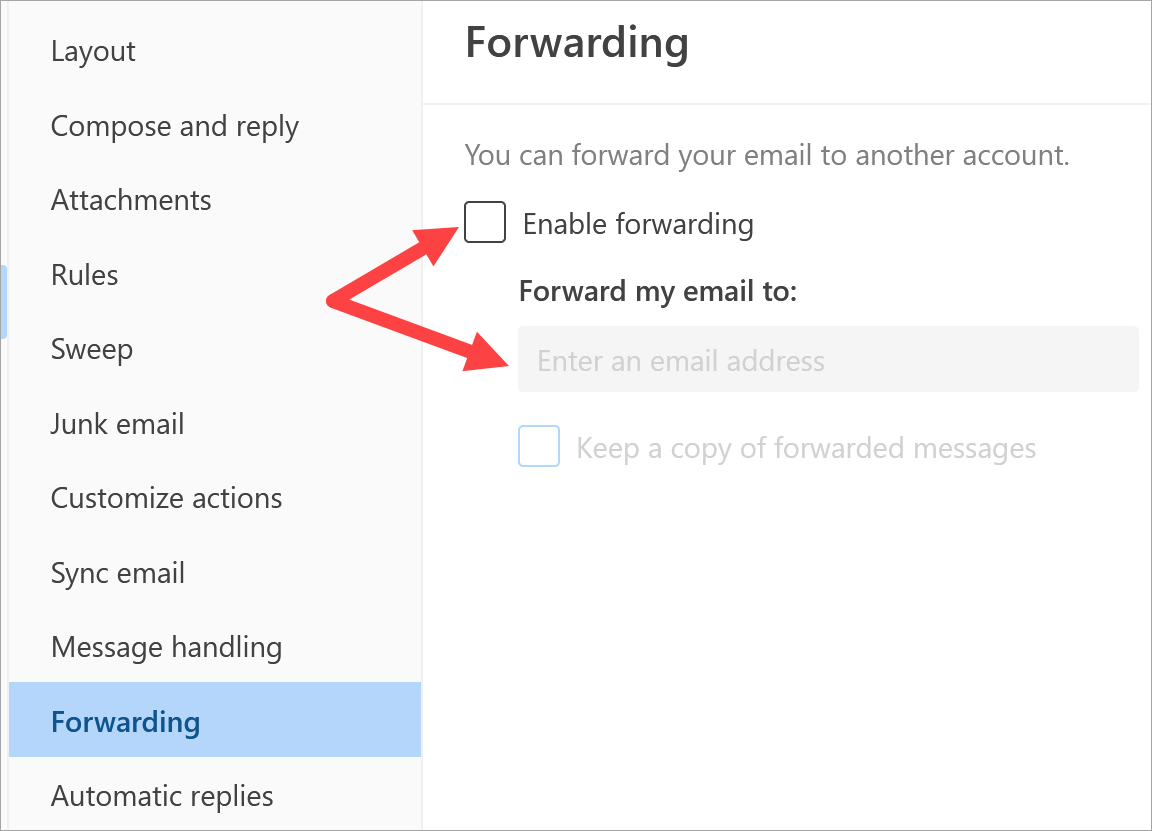
As an alternative, you could also create a rule:
First, go back to Outlook.com and disable the Forwarding feature.
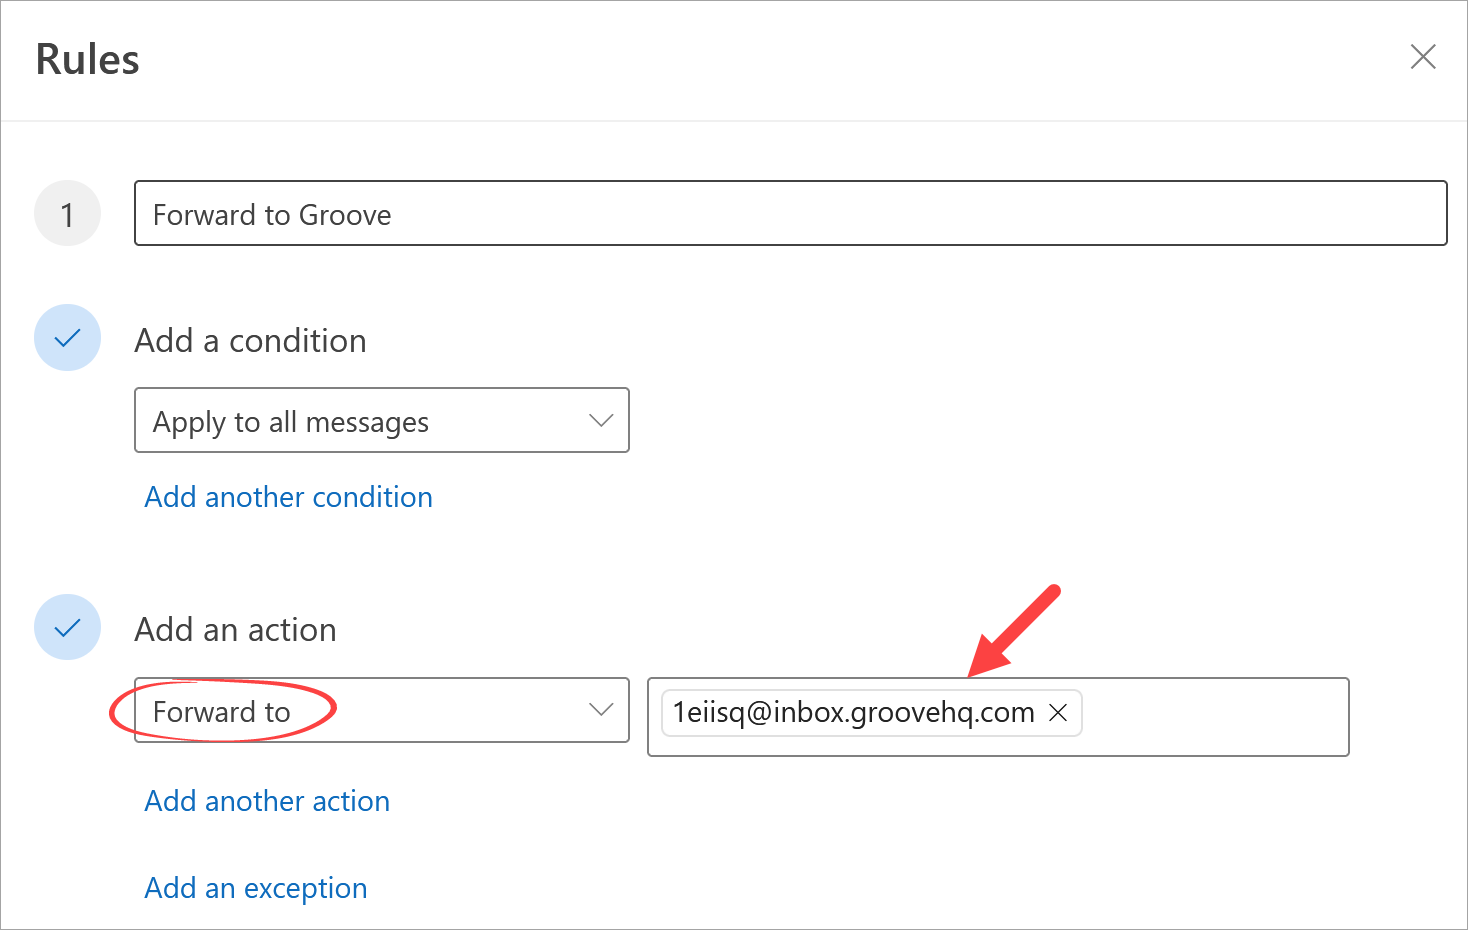
Next, click the Rules link on the side menu. In the new window:
Enter a name for the rule.
Click the conditions field and select Apply to all messages.
Click the action field and select Foward to.
In the last field, paste in the Groove Inbox address. (see above)
Go to the bottom of the page and click Save.
Go back to the Groove page and send a test message. This message should pass through in a minute or two.
That’s it!
Now you know how to forward messages from an Outlook.com account to a Groove Inbox.
Configuring External Forwarding in Microsoft
In some instances, Microsoft Office or Outlook’s Forwarding feature might not work. This may be due to security settings in your Microsoft account. You can try the following the get the mail flowing:
Click on Anti-spam outbound policy (Default) and scroll to click the Edit protection settings link at the bottom of the sidebar.
Find the section called Forwarding Rules, and the dropdown list called Automatic Forwarding Rules. Pull that list down and choose On - Forwarding is enabled. Click Save at the bottom.
Here's a quick link for more information on configuring your anti-spam outbound policy
Return to Getting Your Emails Into Groove
Needing a hand getting your email into Groove? Reach out to the support team! Email: support@groovehq.com