Easily receive emails from your customers on any page of your website or App with the Groove widget!
Any conversations started from the Contact form on your widget land up straight in your Groove Inbox (to a mailbox of your choosing). When you receive a new conversation from the widget, the footer of the mail includes information about which widget it was sent from and also includes which URL the user was on when they sent it (along with the type of browser they were using).
Enabling the Contact Form
You can enable the contact form by going to Settings → Widgets → [your widget] → Contact and turning on "Enable Contact form on your widget". Once enabled, new options will display in panels below. You will also be able to set which inbox you will receive new conversations from the contact form with here.
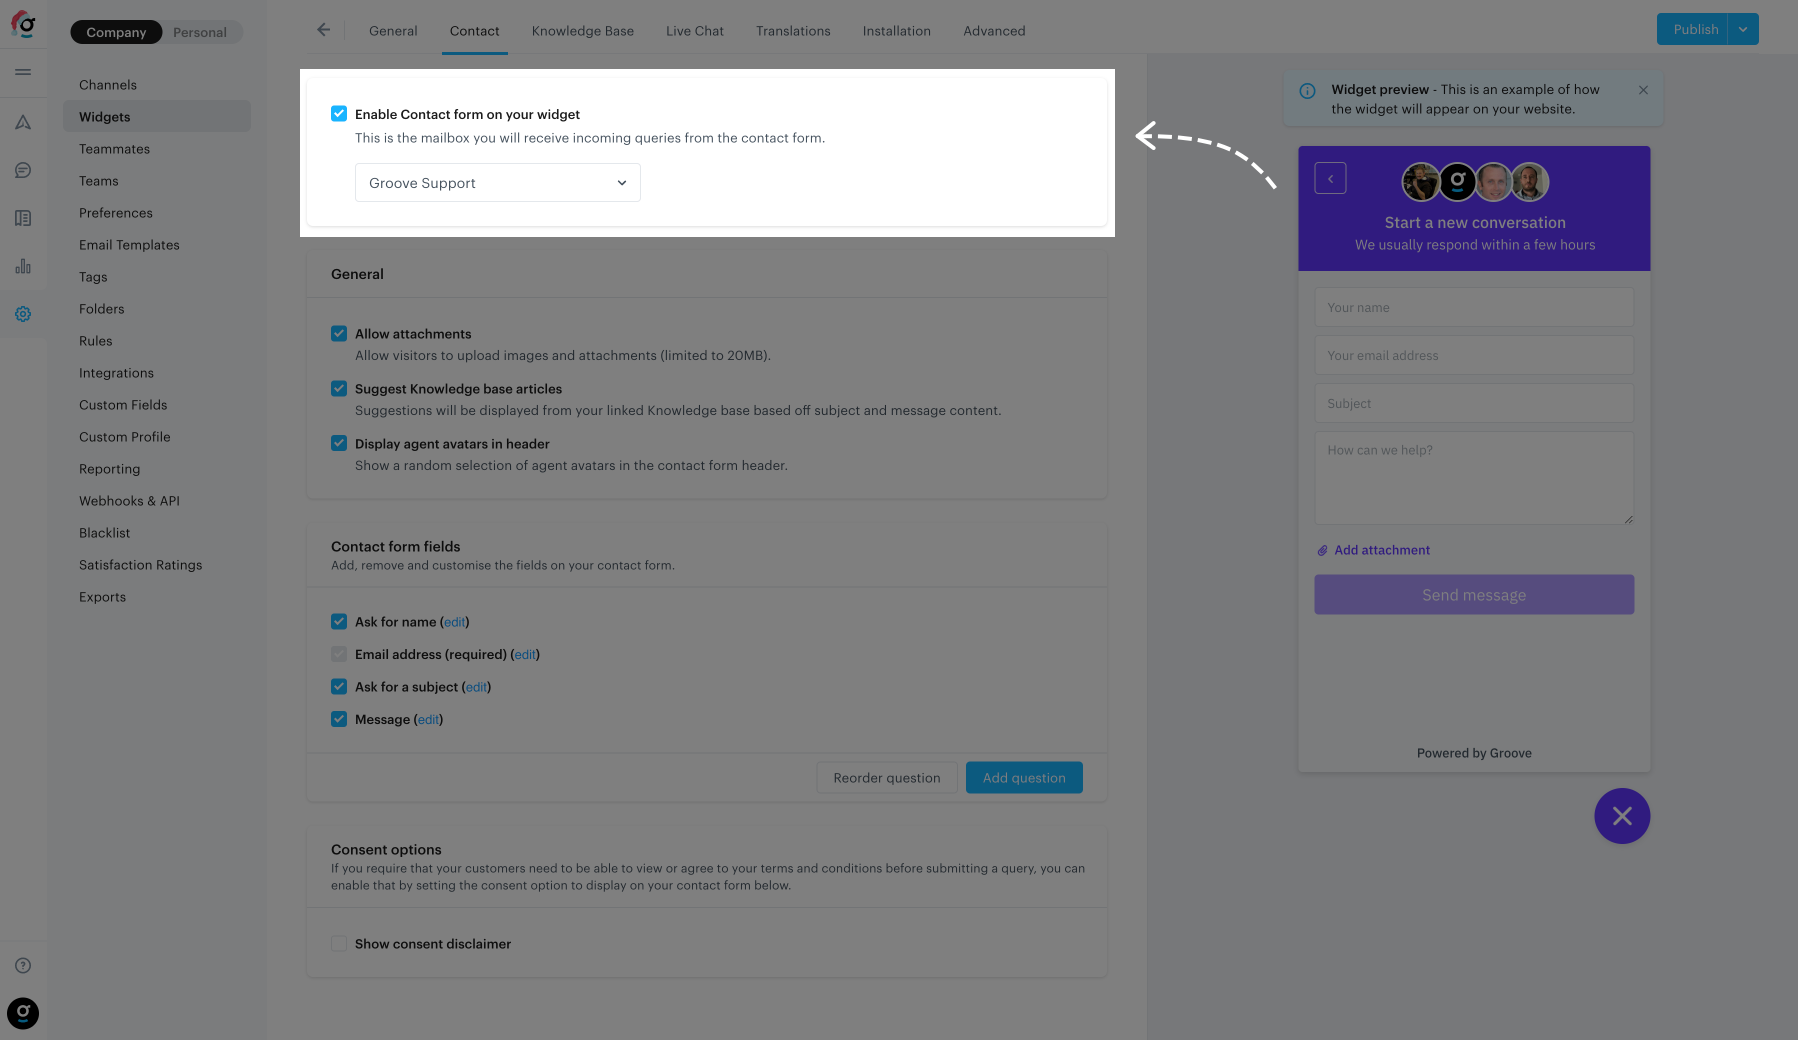
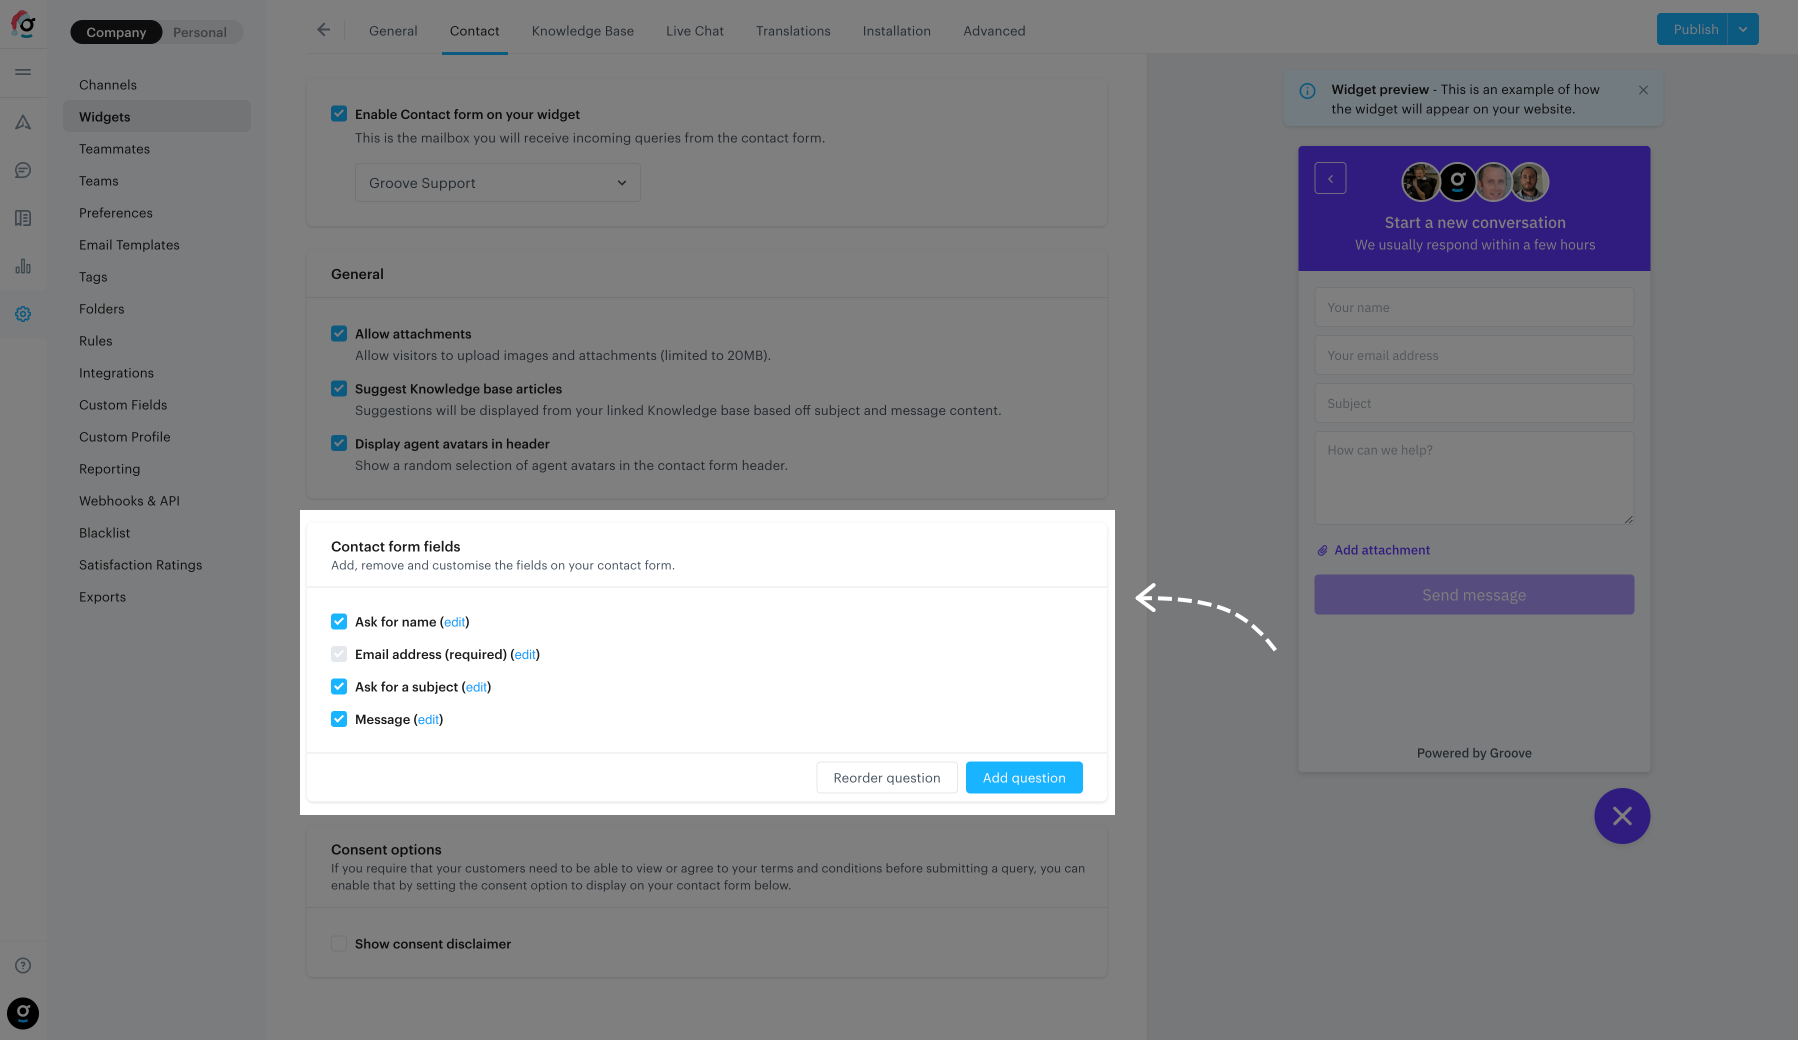
Setting the fields displayed on the contact form
Here you can choose which fields are displayed on your contact form. All fields except the email address can be disabled, and you can also add custom contact fields.
The default fields are:
Name: Used so the individual can place in their name.
Subject: Used so the individual can place in a message subject.
Message: The actual customer query that will be the message body.
Attachments: Allows the user to upload files up to 20MB. As with all incoming emails, attachments will be run through our virus scanner to ensure they are secure.
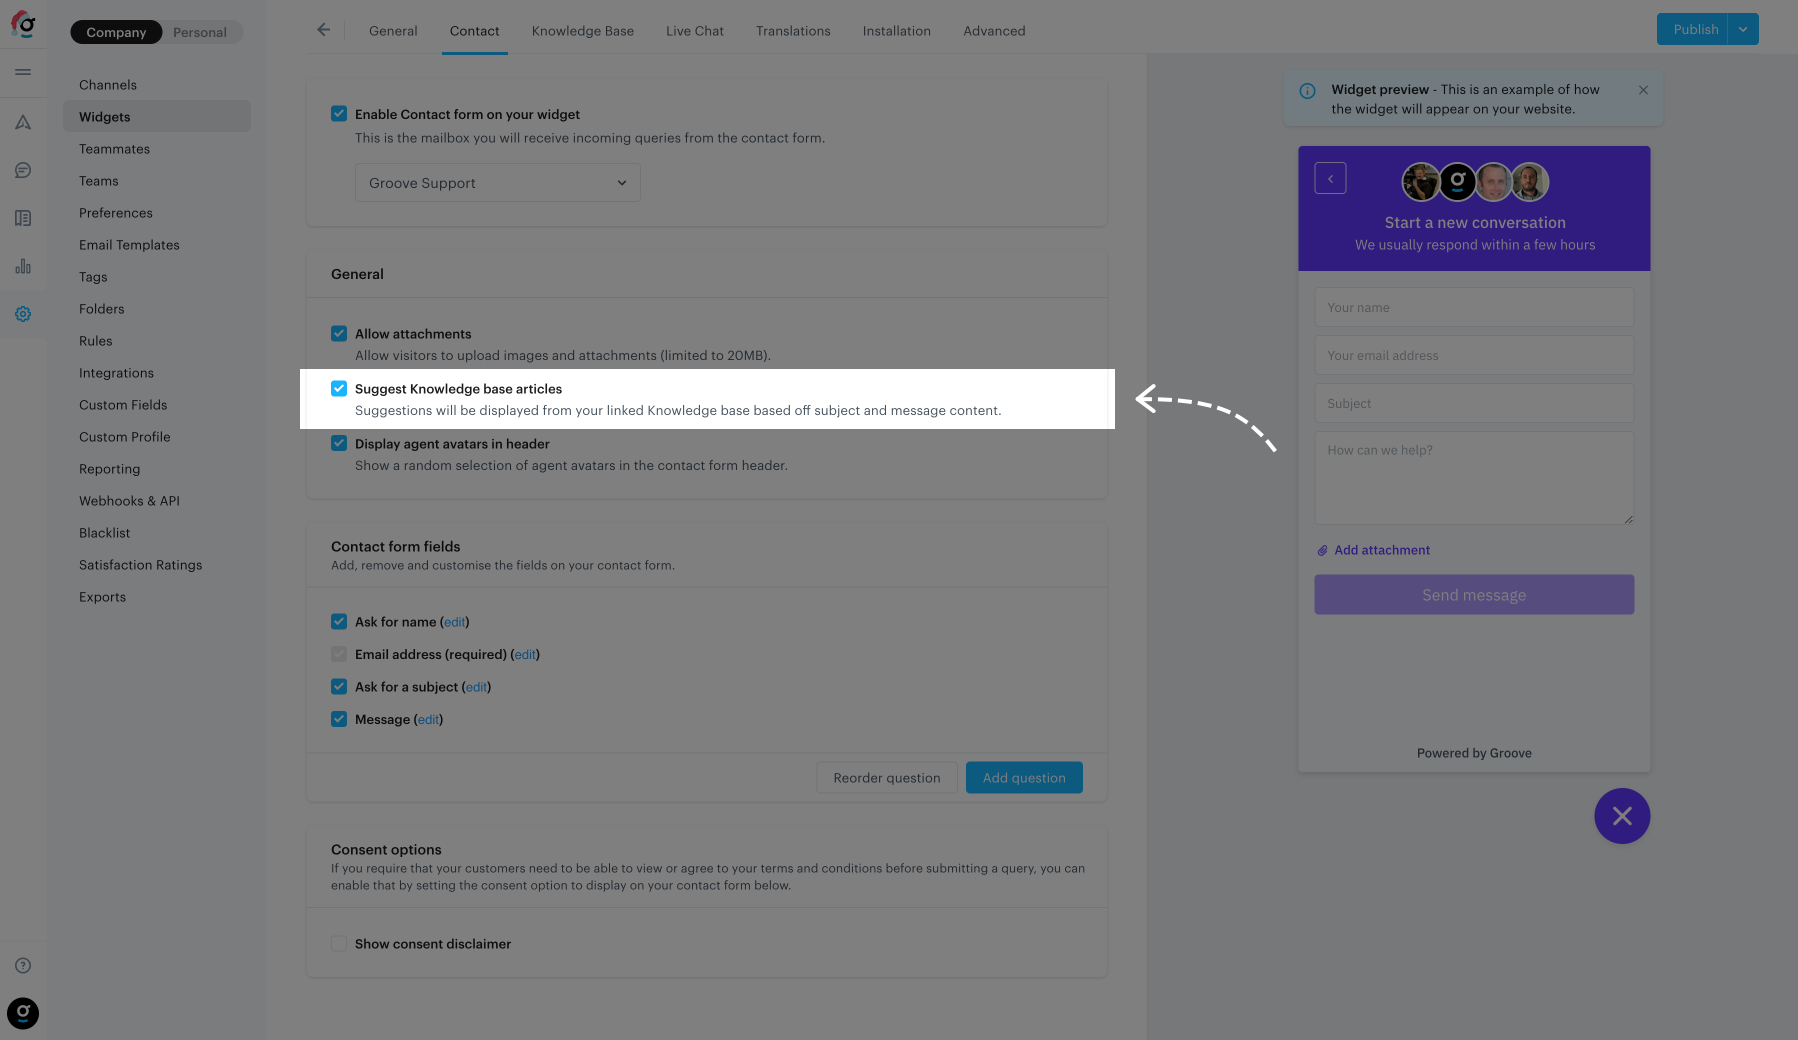
Automatically suggest Knowledge Base articles (recommended)
If you have also enabled the Knowledge Base on the widget, you will be able to suggest relevant Knowledge Base articles to users when adding in a message subject.
Prerequisites for this feature:
The Knowledge Base feature must be enabled on your widget, and you will need to display the Subject line field.
This is highly recommended by the team here at Groove as it has shown to dramatically decrease incoming support queries by around 33%.
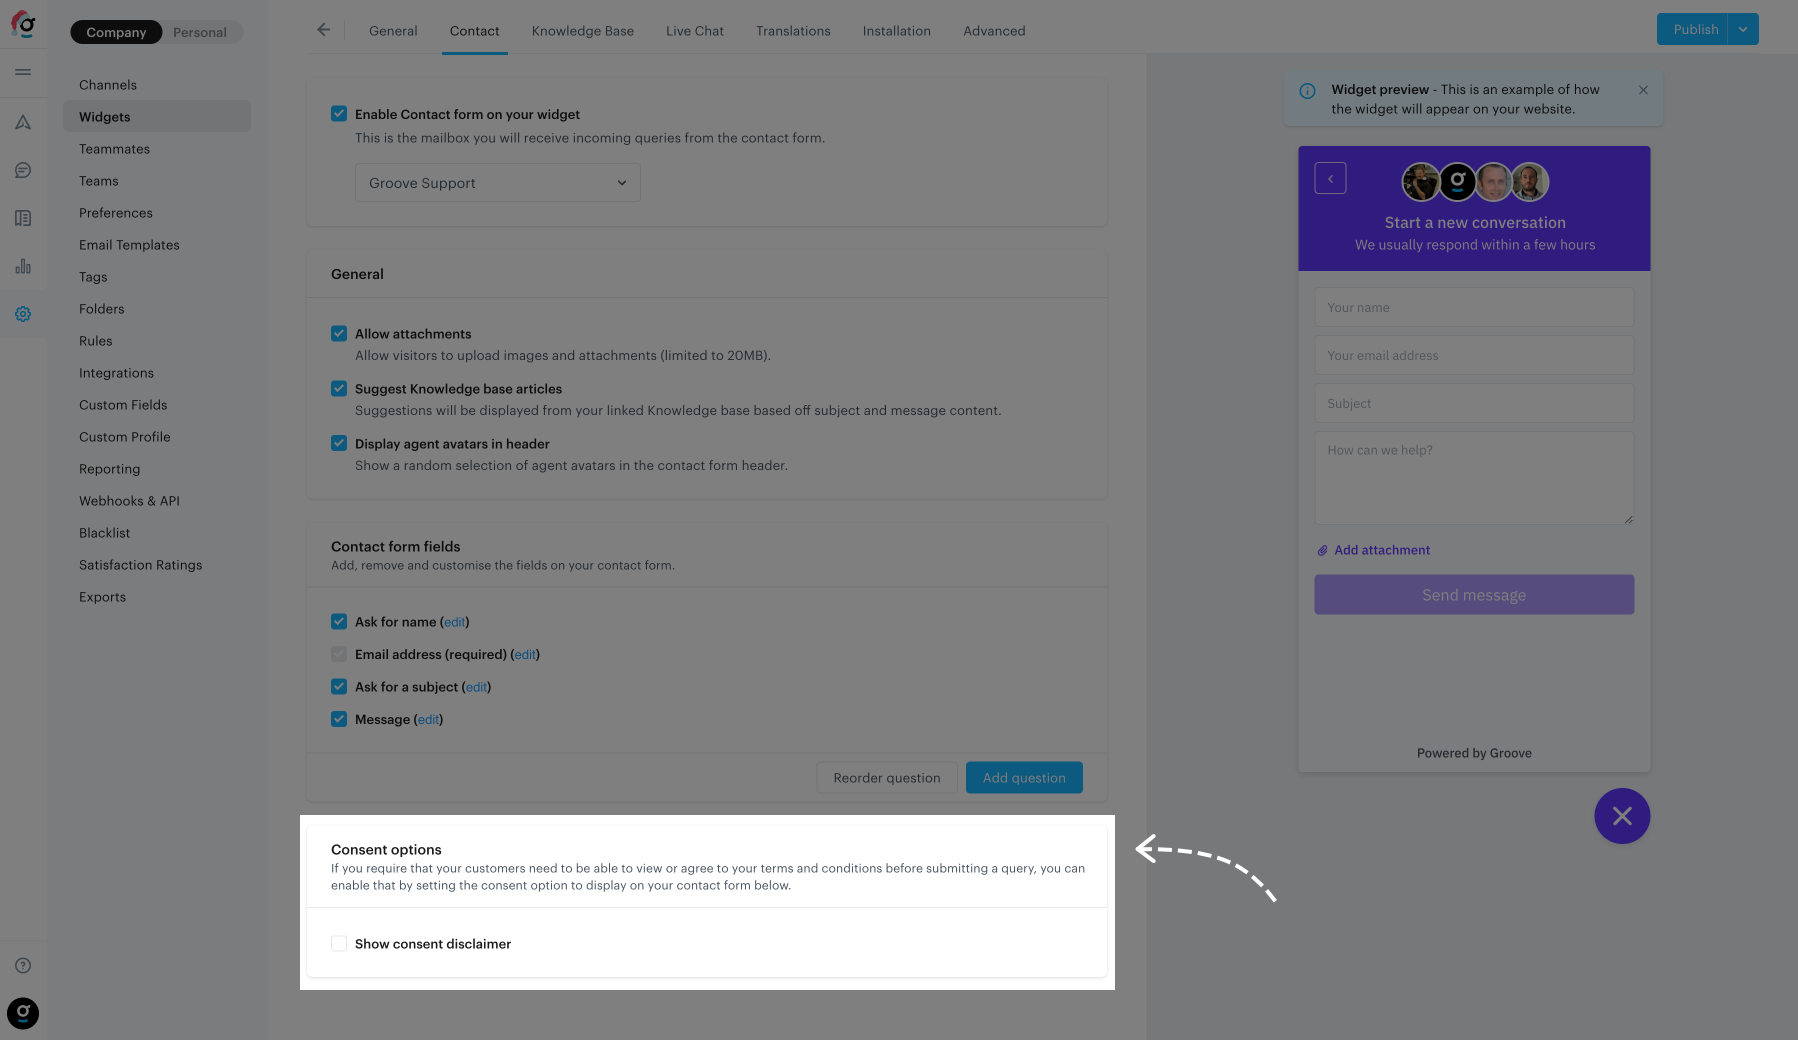
Configuring your consent options
If you require consent wording for people making use of the contact form (eg: terms & conditions, privacy policies, etc…) you can easily add consent options section.
Best of all, you can easily add links to the relevant sections, or require people to explicitly select the checkbox agreeing to it before the submit button becomes active (along with a setting to have it preselected by default).
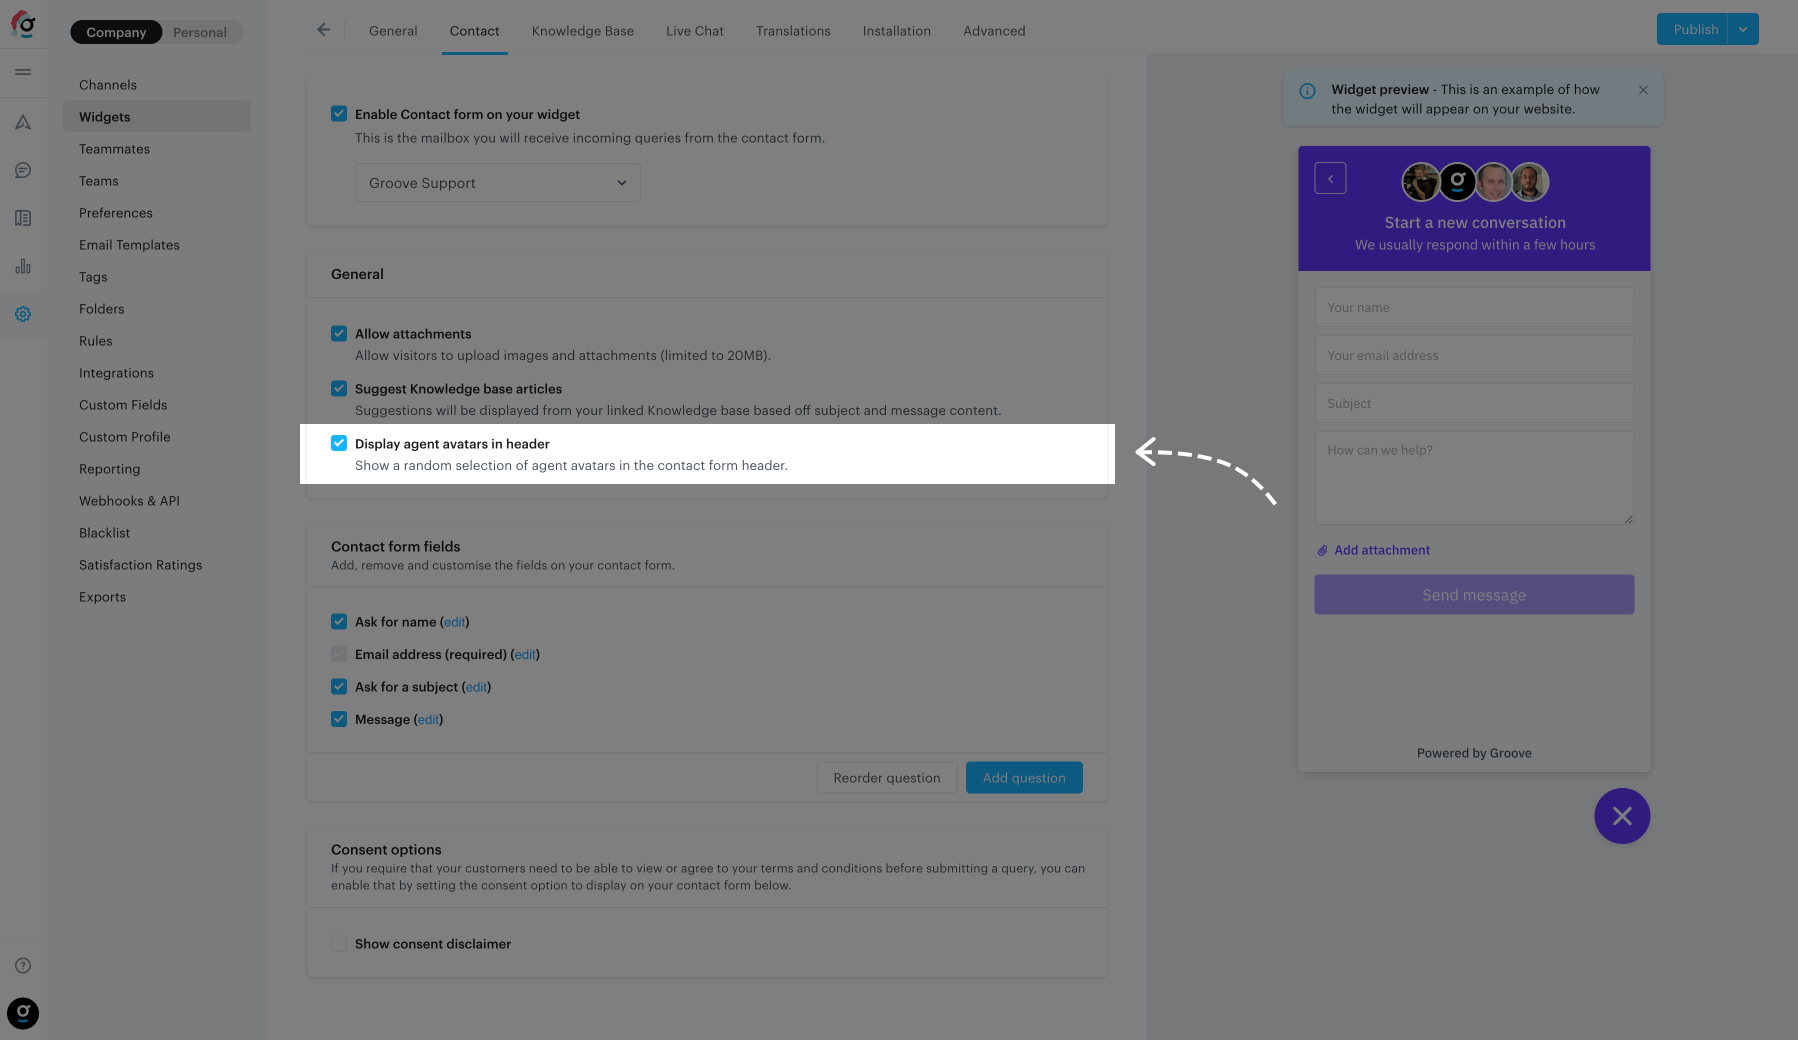
Displaying avatars on the contact form
You can choose whether or not you would like to display your team's avatars (aka headshots) on the top of your contact form by enabling or disabling the feature here.
The headshots used will be a random selection of your agents and they will only be included if they have an image linked to their profile.
Contact Form Message Filtering
Our contact form is safeguarded by a spam checking algorithm that helps ensure we receive only legitimate messages. Based on the algorithm's evaluation, messages are either delivered or filtered accordingly.
Experiencing Issues with Legitimate Messages?
If you're experiencing issues with legitimate messages not being properly delivered, please reach out to our support team. We can review the spam filtering process and adjust the algorithm's sensitivity to better fit your needs.
Still needing a hand? Reach out to the support team! Email: support@groovehq.com