To configure email forwarding using the Exchange Admin Center (EAC), follow these steps. Note that you need the appropriate permissions to perform these actions. Refer to the "Recipients" entry in the Feature permissions in Exchange Online article.
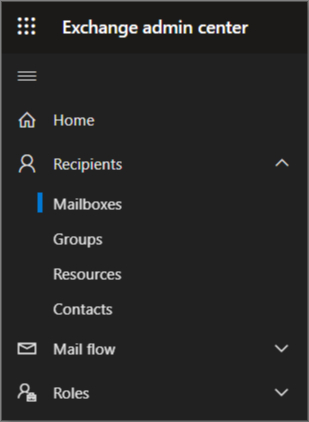
Access the EAC:
Go to Recipients > Mailboxes.
Select the Mailbox:
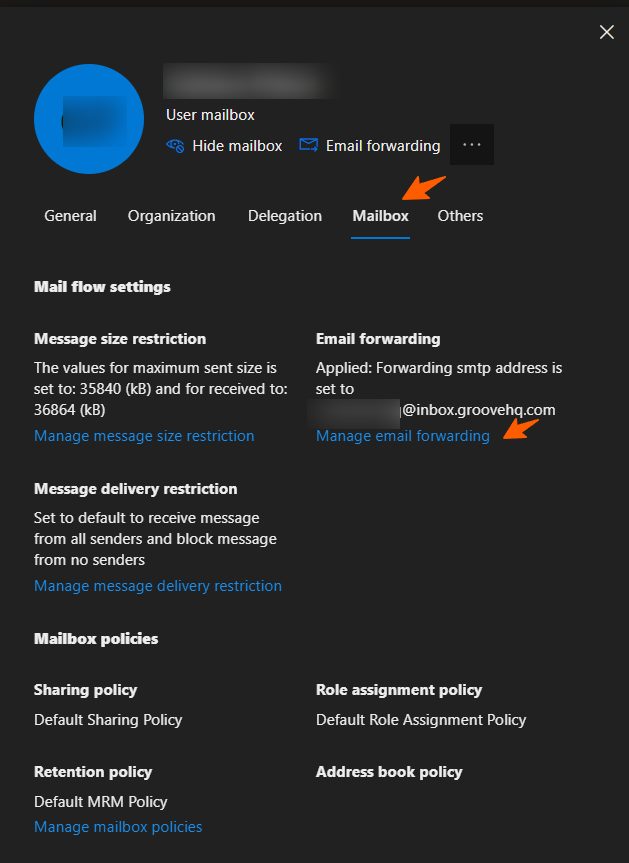
In the list of user mailboxes, click the mailbox you want to configure email forwarding for. This will open a display pane for the selected user mailbox.
Manage Email Forwarding:
Under Mailbox > Email forwarding, click the Manage email forwarding link
Enable Forwarding:
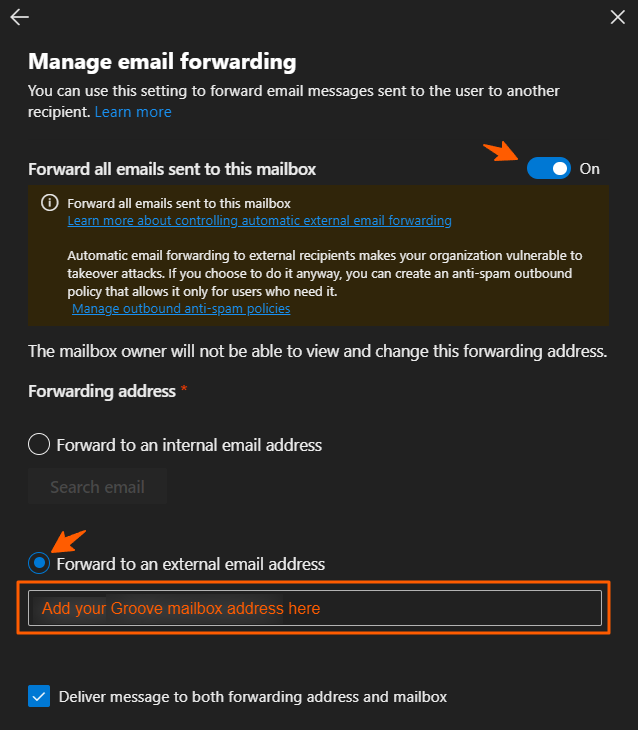
In the Manage email forwarding display pane, turn the Forward all emails sent to this mailbox setting ON.
Set Forwarding Address:
Under the Forwarding address text box, select the Search email button to find and choose an internal recipient.
To forward to an external address, select Forward to an external email address and type in the external address.
Optional - Keep a Copy of the Forwarded Email:
You can select the Deliver message to both forwarding address and mailbox option if you wish to keep a copy of the forwarded email in the original mailbox.
Save Changes:
Click Save to save your changes.
Click Close to exit the Manage email forwarding display pane.
Following these steps will ensure that email forwarding is configured correctly in the EAC.
Microsoft Outbound Spam Filter Policy - Mails Not Being Forwarded Externally (i.e to Groove)
When your email is set to automatically forward from Microsoft, and the outbound spam filter policy blocks that activity, the message is returned to the sender with the following error:
5.7.520 Access denied, Your organization does not allow external forwarding. Please contact your administrator for further assistance. AS(7555)
If you're seeing this, you'll need to change the following in your outbound spam filter policy settings:
Click on Anti-spam outbound policy (Default) and scroll to click the Edit protection settings link at the bottom of the sidebar.
Find the section called Forwarding Rules, and the dropdown list called Automatic Forwarding Rules. Pull that list down and choose On - Forwarding is enabled. Click Save at the bottom:
Return to Getting Your Emails Into Groove
Needing a hand getting your email into Groove? Reach out to the support team! Email: support@groovehq.com