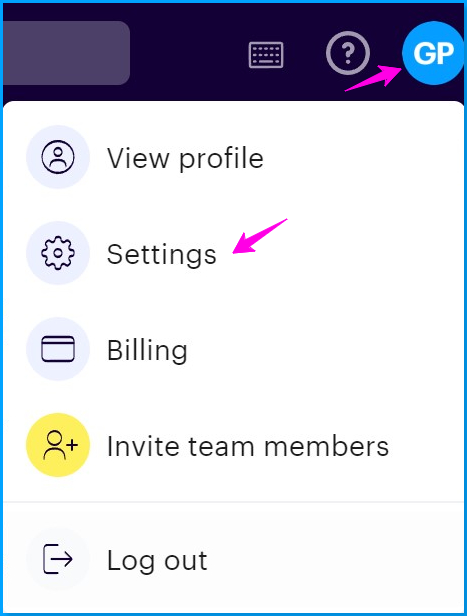
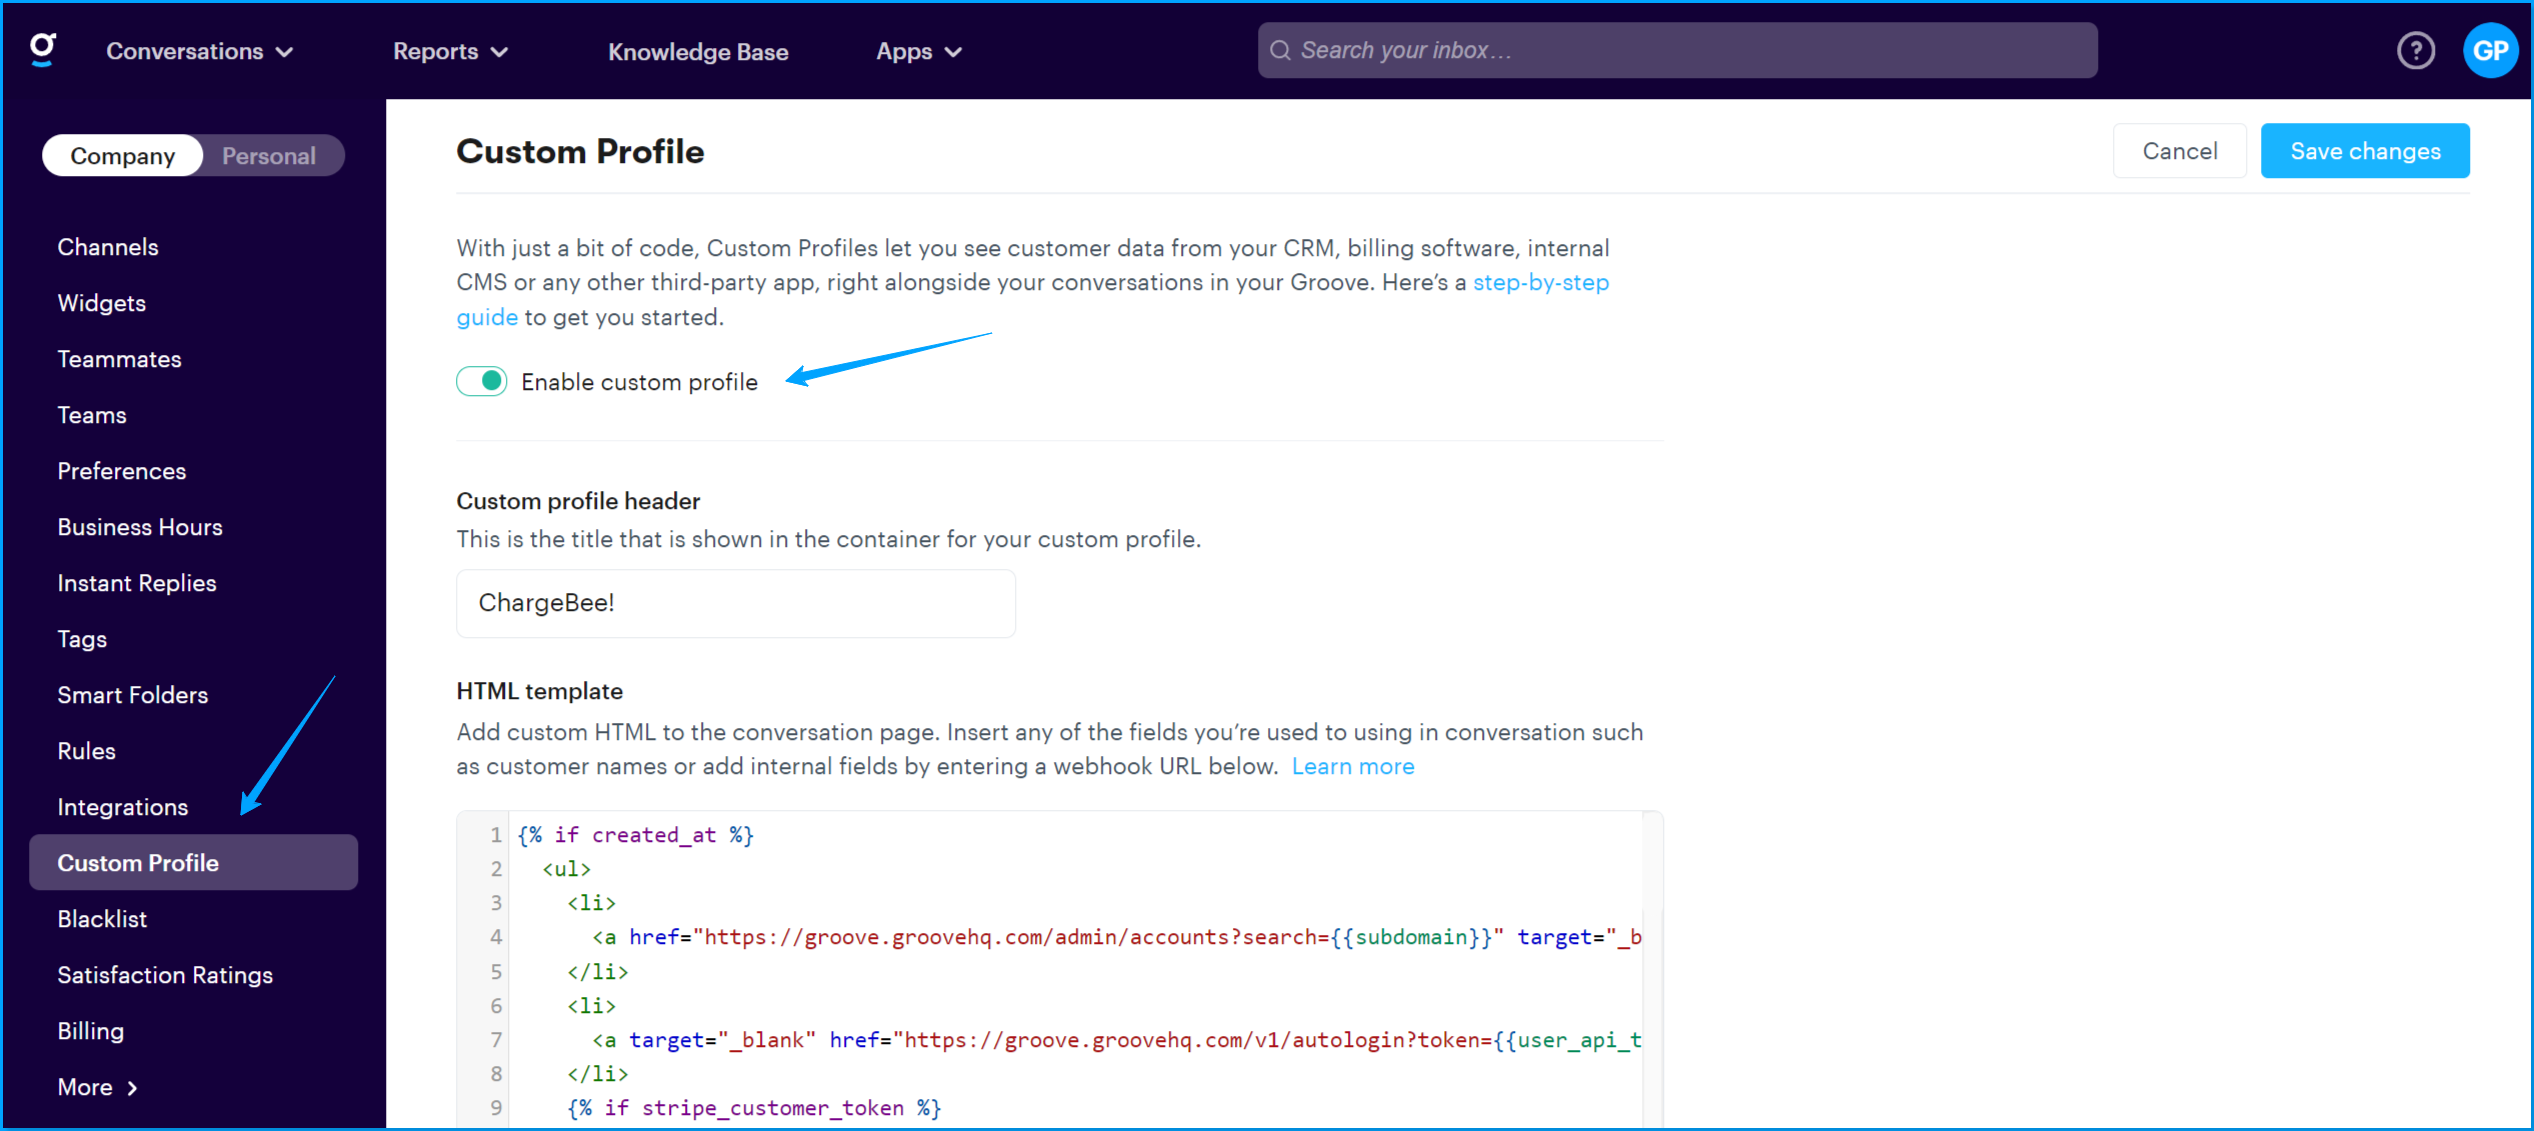
The Custom Profile integration allows you to display internal data and links next to any conversation in the sidebar. To enable it, navigate to: Settings (under your profile icon) → Custom Profile, and toggle it on:
The Custom Profile requires four things to function properly:
An HTTP/HTTPS webhook URL on your server that the Groove servers can call
For the webhook to return valid JSON
For the JSON keys to not include any spaces
An HTML template to display next to every ticket
After installing, you'll need to tell us exactly what you want us to display and how you want it to look:
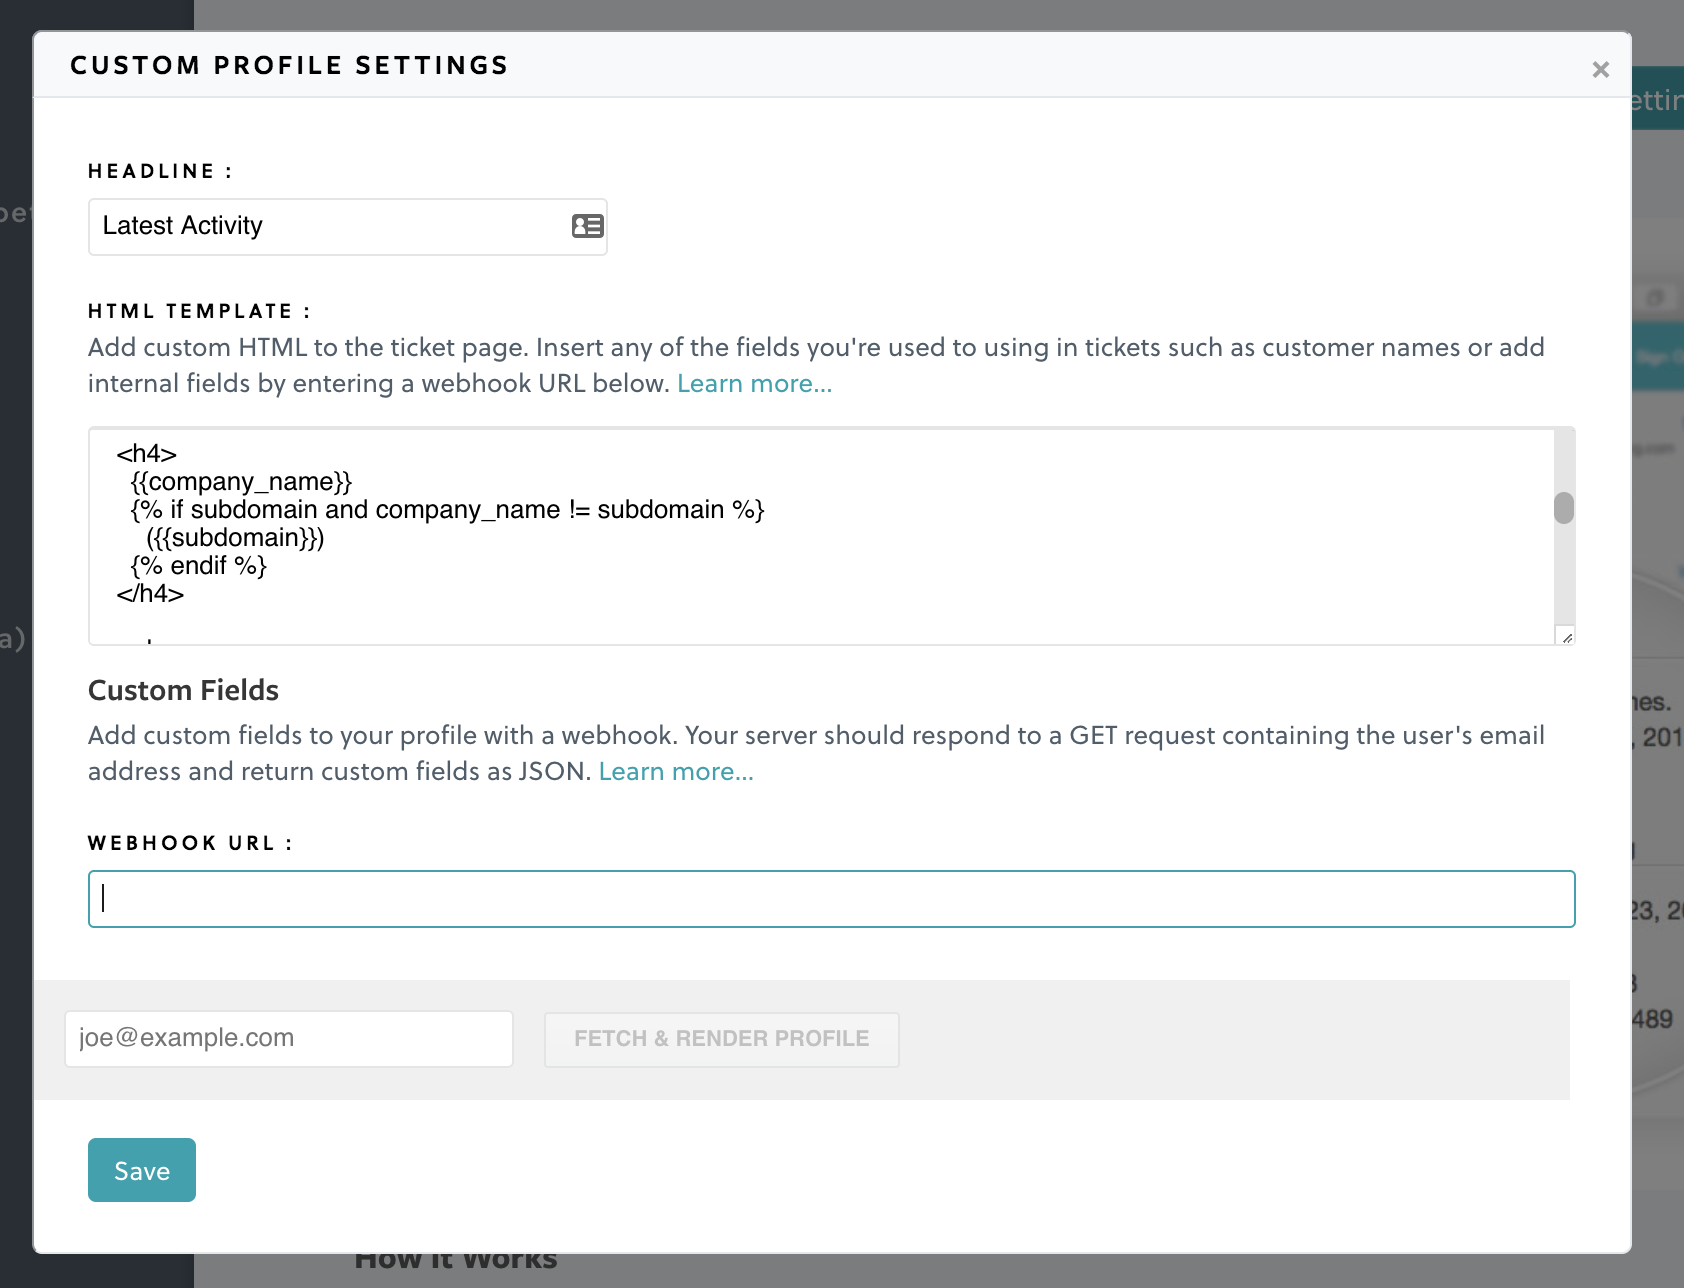
Headline
Allows you to customize the text above your Custom Profile.
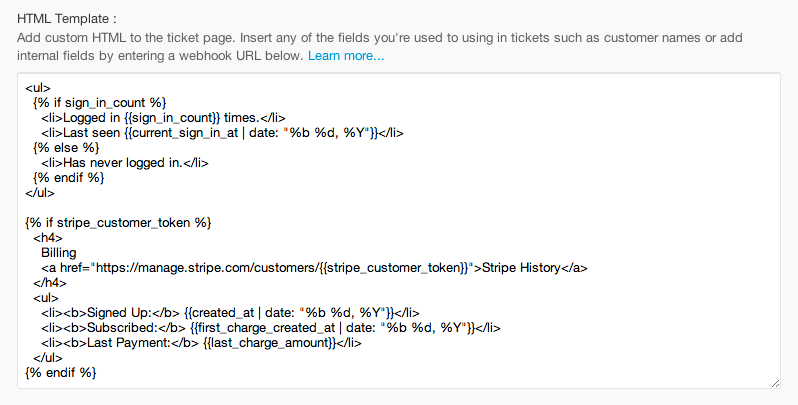
HTML Template
This is where things start to get fun. After we've fetched custom attributes from your webhook, you can render them directly on the template page using a Liquid template. To insert an attribute into your HTML, wrap it in double curly brackets like so: `Name: {{preferred_name}}`.
Note: There are a few reserved fields which Groove will always override:
`:name`(of your custom profile)`:status`(of the user in Groove)`:email`(of the user)`:first_name`(of the user)`:last_name`(of the user)`:full_name`(of the user)
Please use different field names in your webhook payloads to avoid collisions.
Inserting variables is just the beginning, though. We highly recommend checking out the Liquid docs. Especially using if statements around custom attributes that aren't available for all customers and filters to format text. Have a look at a part of the template we use in our Groove account to see what's possible:
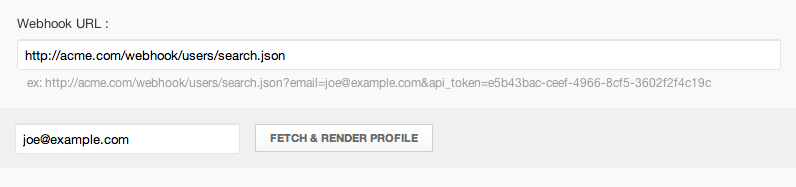
Webhook URL
We'll fetch your custom attributes from your server using this URL after every new message from your customers. We will use a GET request with `email` and `api_token` parameters. You should check if the given `api_token` matches the one from your account, and return non-nested JSON for the given email address.
Note: API token passed is the one from your API settings page
Testing
Prior to saving, you should provide a real customer's email address and test that your webhook and Custom Profile are working as expected. We will fetch the details from your server and render an example.
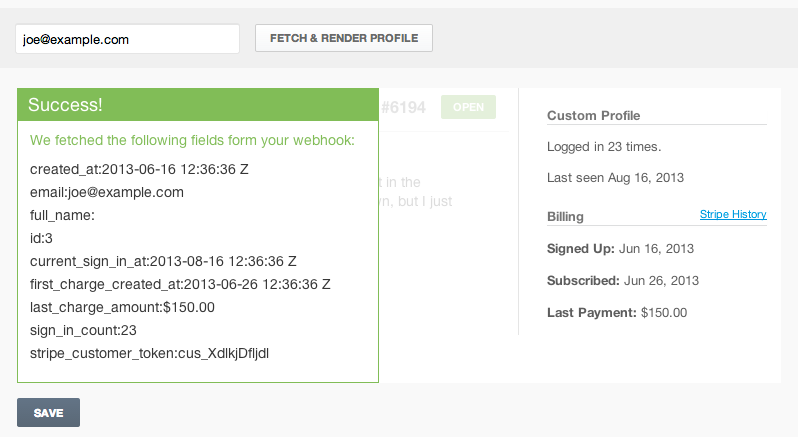
End Result
Once everything looks the way you want and is saved, all new conversations will include your Custom Profile on the right side of the screen.
JSON Examples
JSON should be returned as a single level hash. This is correct:
{ "id": 3, "created_at": "2013-06-16 12:36:36 Z", "current_sign_in_at": "2013-08-16 12:36:36 Z", "first_charge_created_at": "2013-06-26 12:36:36 Z", "last_charge_amount": "$150.00", "sign_in_count": 23, "stripe_customer_token": "cus_XdlkjDfljdl"}Nested keys will not work. This example is incorrect:
{ "stripe": { "customer_token": "cus_XdlkjDfljdl" }}Custom Profile Data Fetching
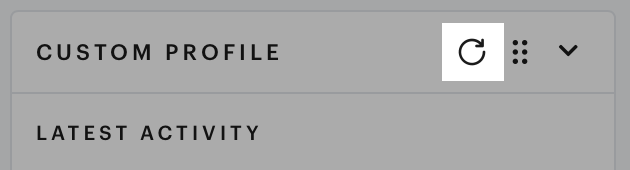
By default, the Custom Profile data is fetched every time you receive an incoming message from an email address. You can manually refresh the data by clicking the button at the top of your Custom Profile.